¶ OpenAstroGuider v3 Assembly
This page contains the assembly instructions WITHOUT the dew heater
If you're looking for the assembly instructions with the dew heater, go here.
If you need the older OpenAstroGuider V2 assembly instructions, go here.
¶ Preparations
¶ Inserts
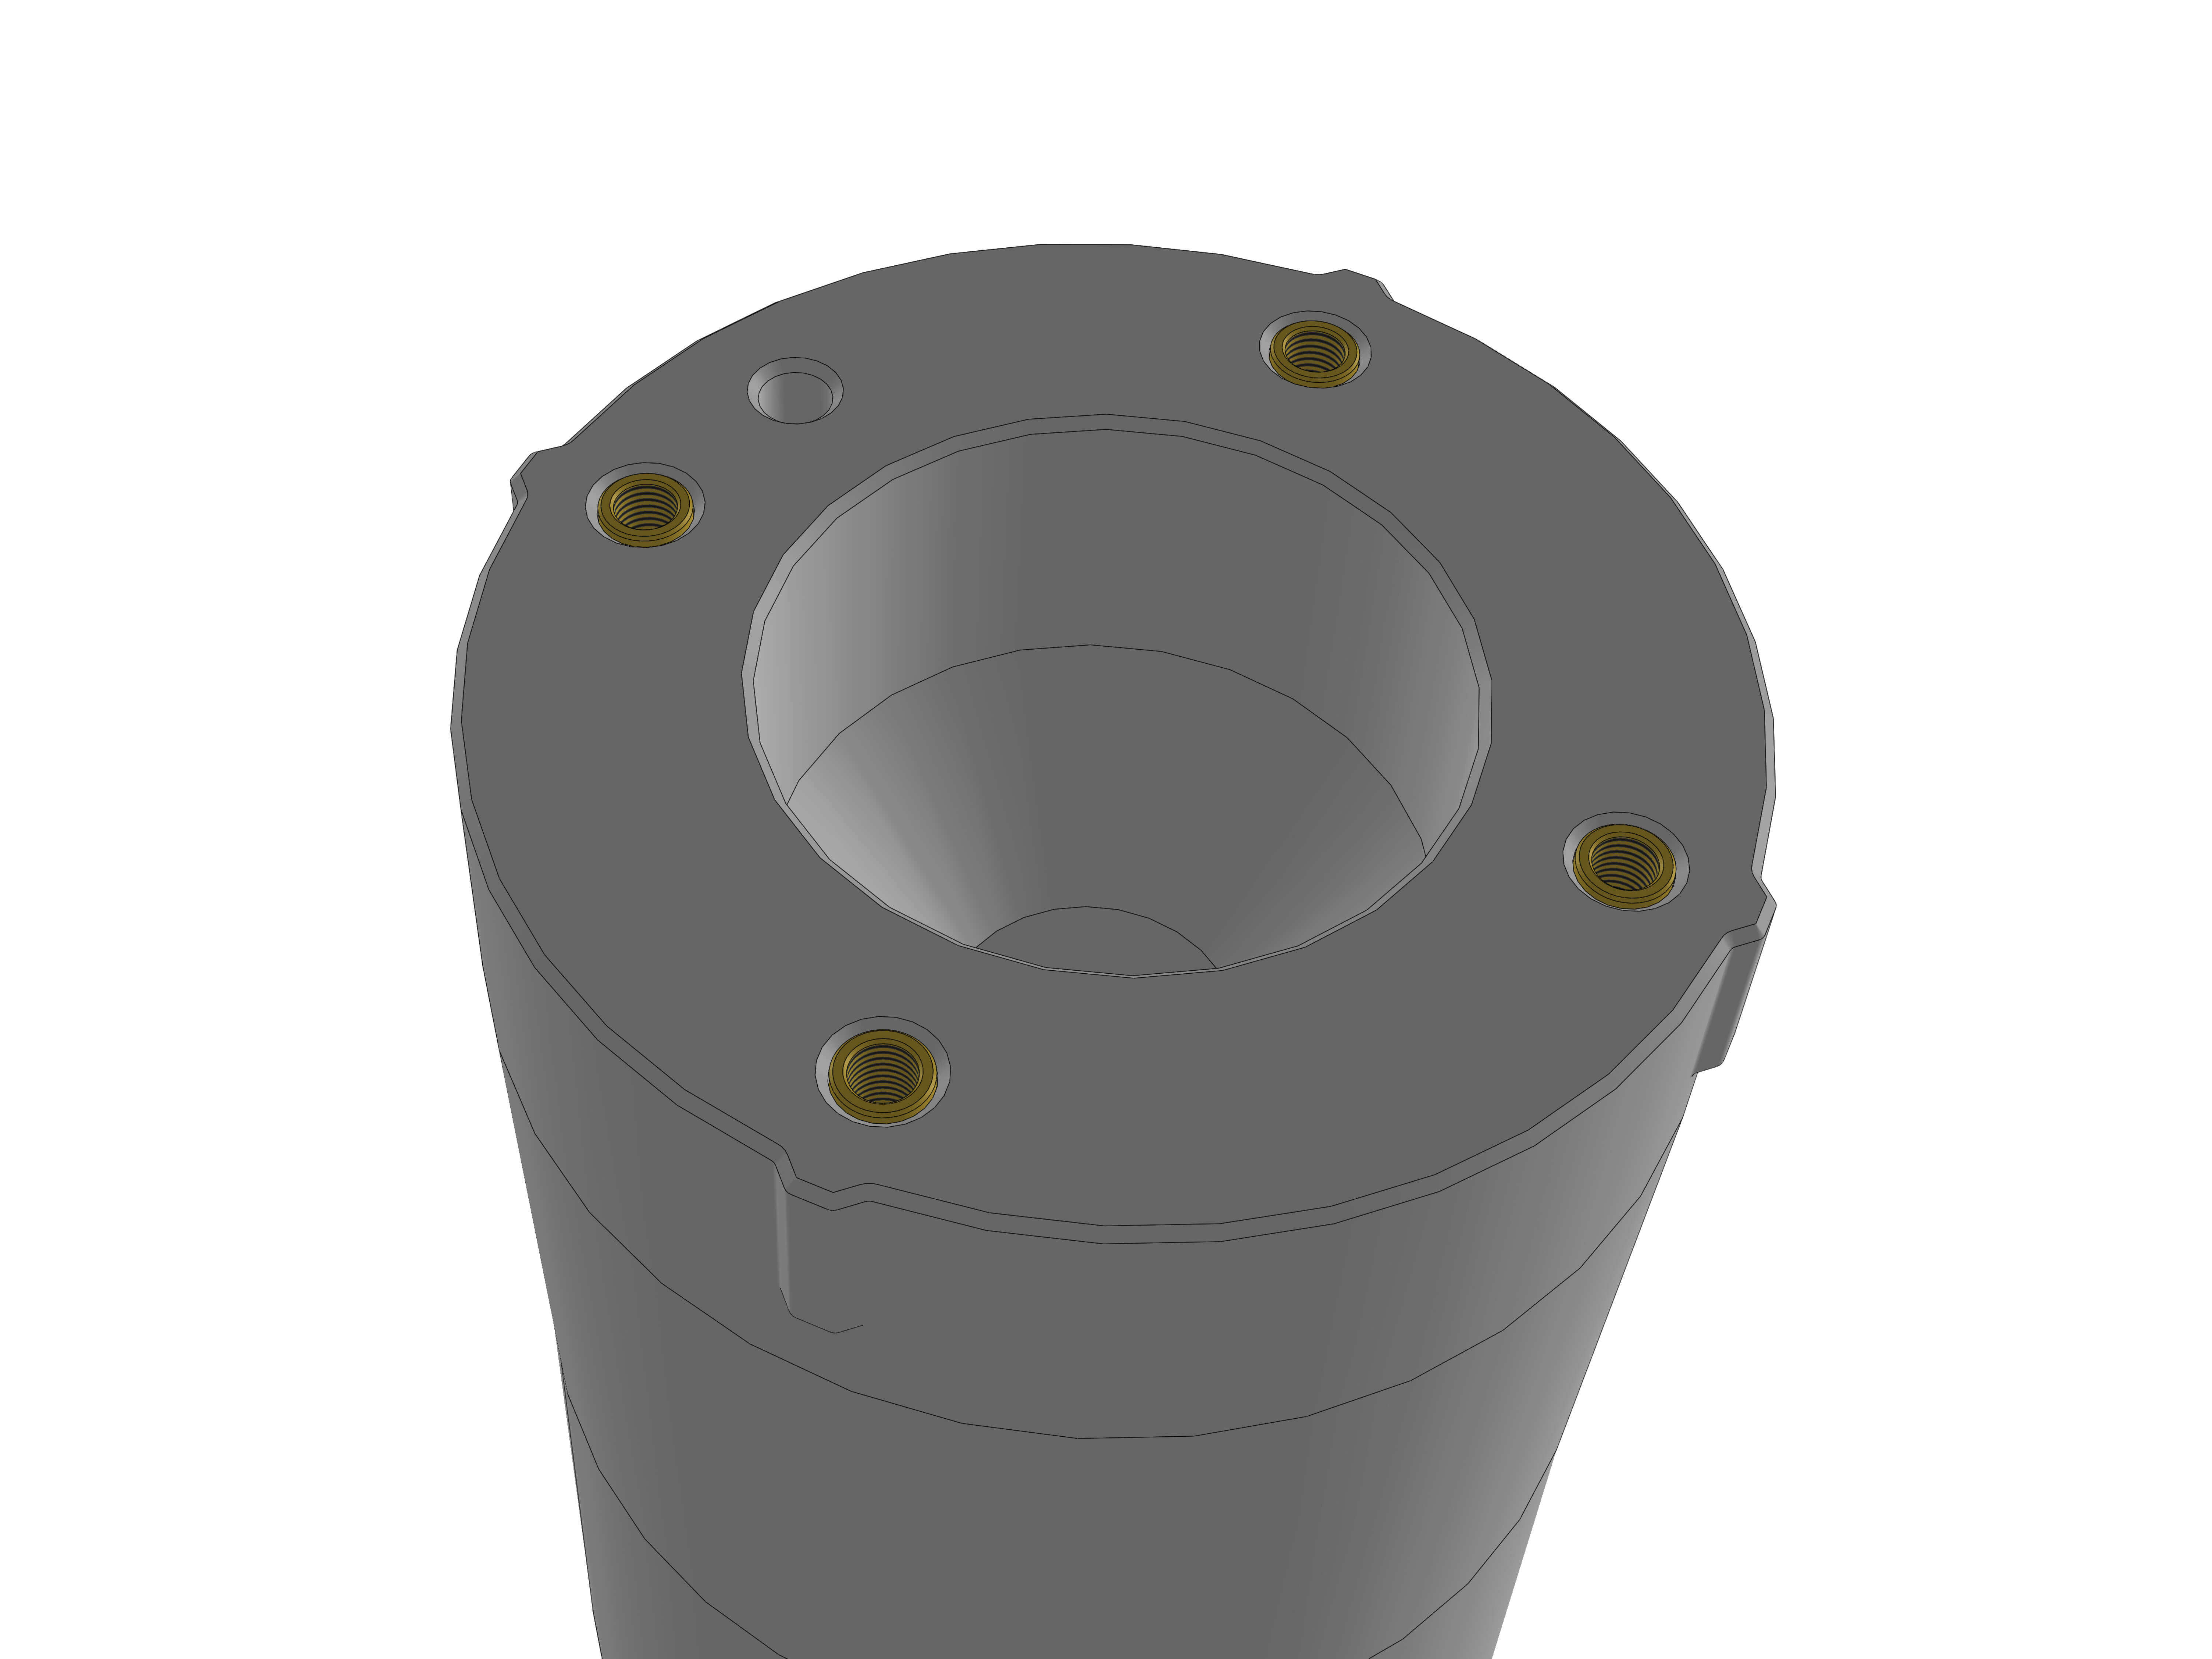
If you choose to build OAG v3 with inserts, you will need to use 4 M3x4.6x6 inserts for the rear part. Make sure theyre a little past flush and the surface stays smooth.
¶ Assembly
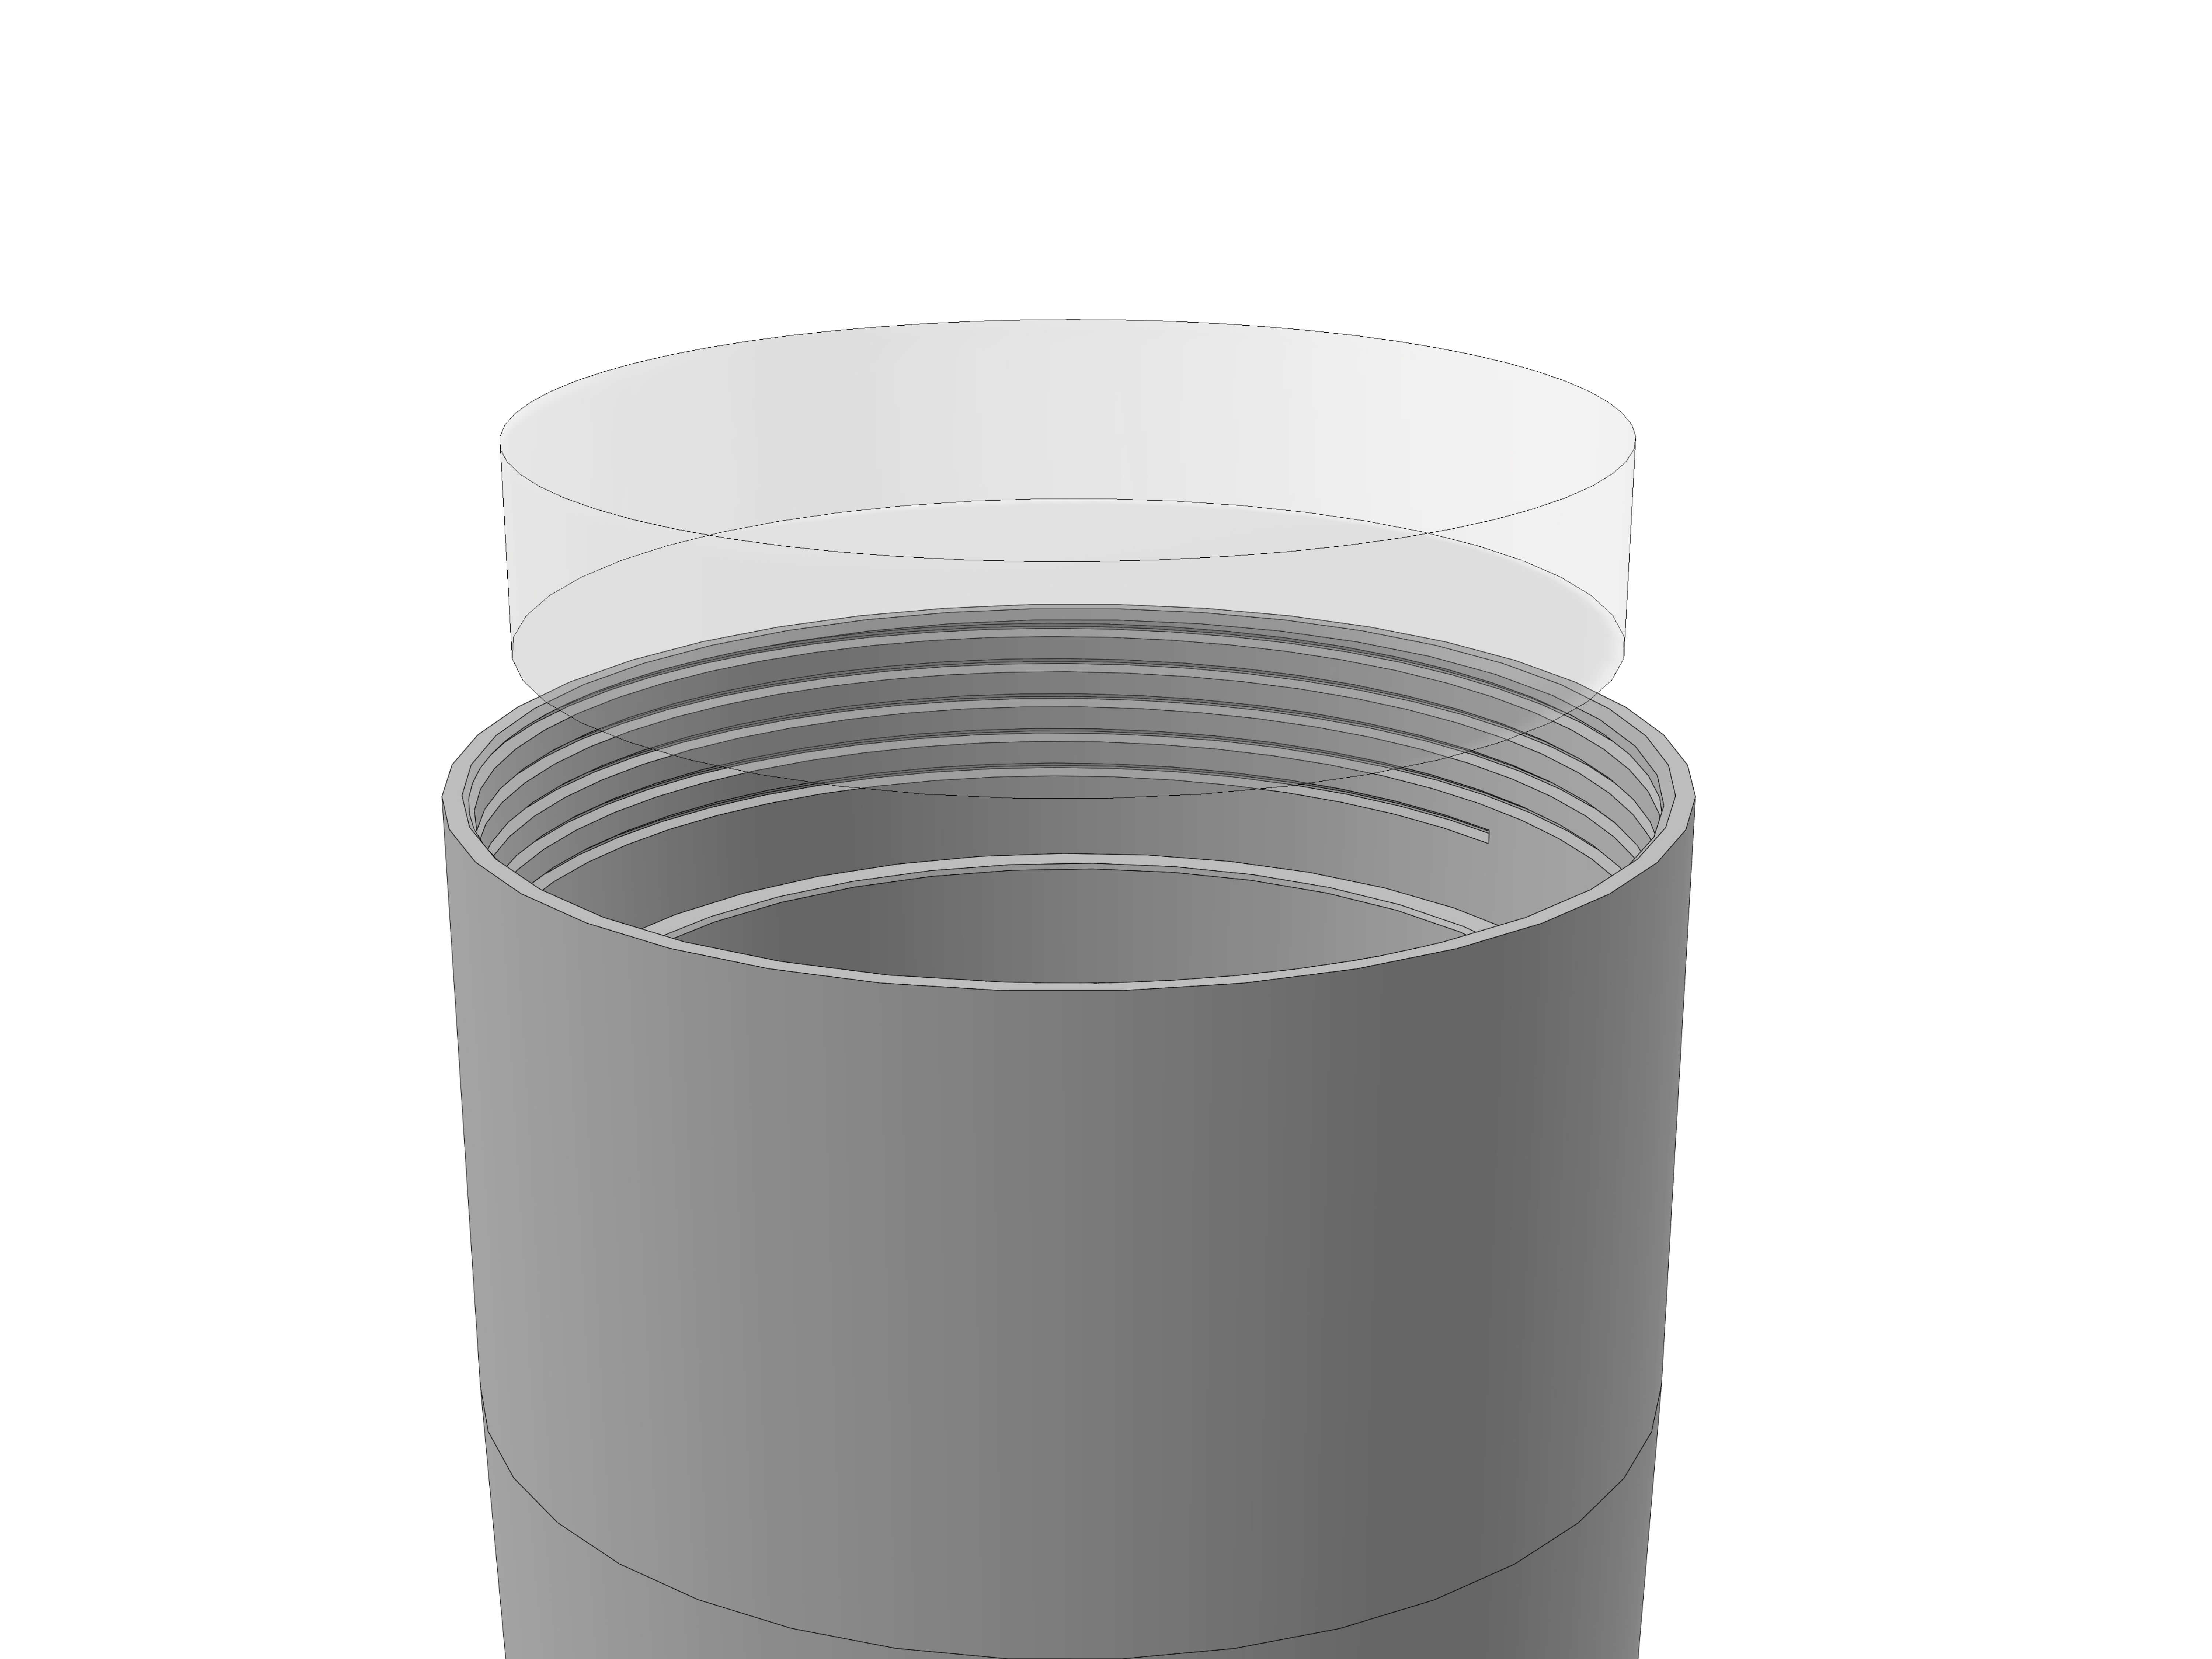
Insert the lens into the front part. The slightly rounded side of the lens should face the short thread/ the front.
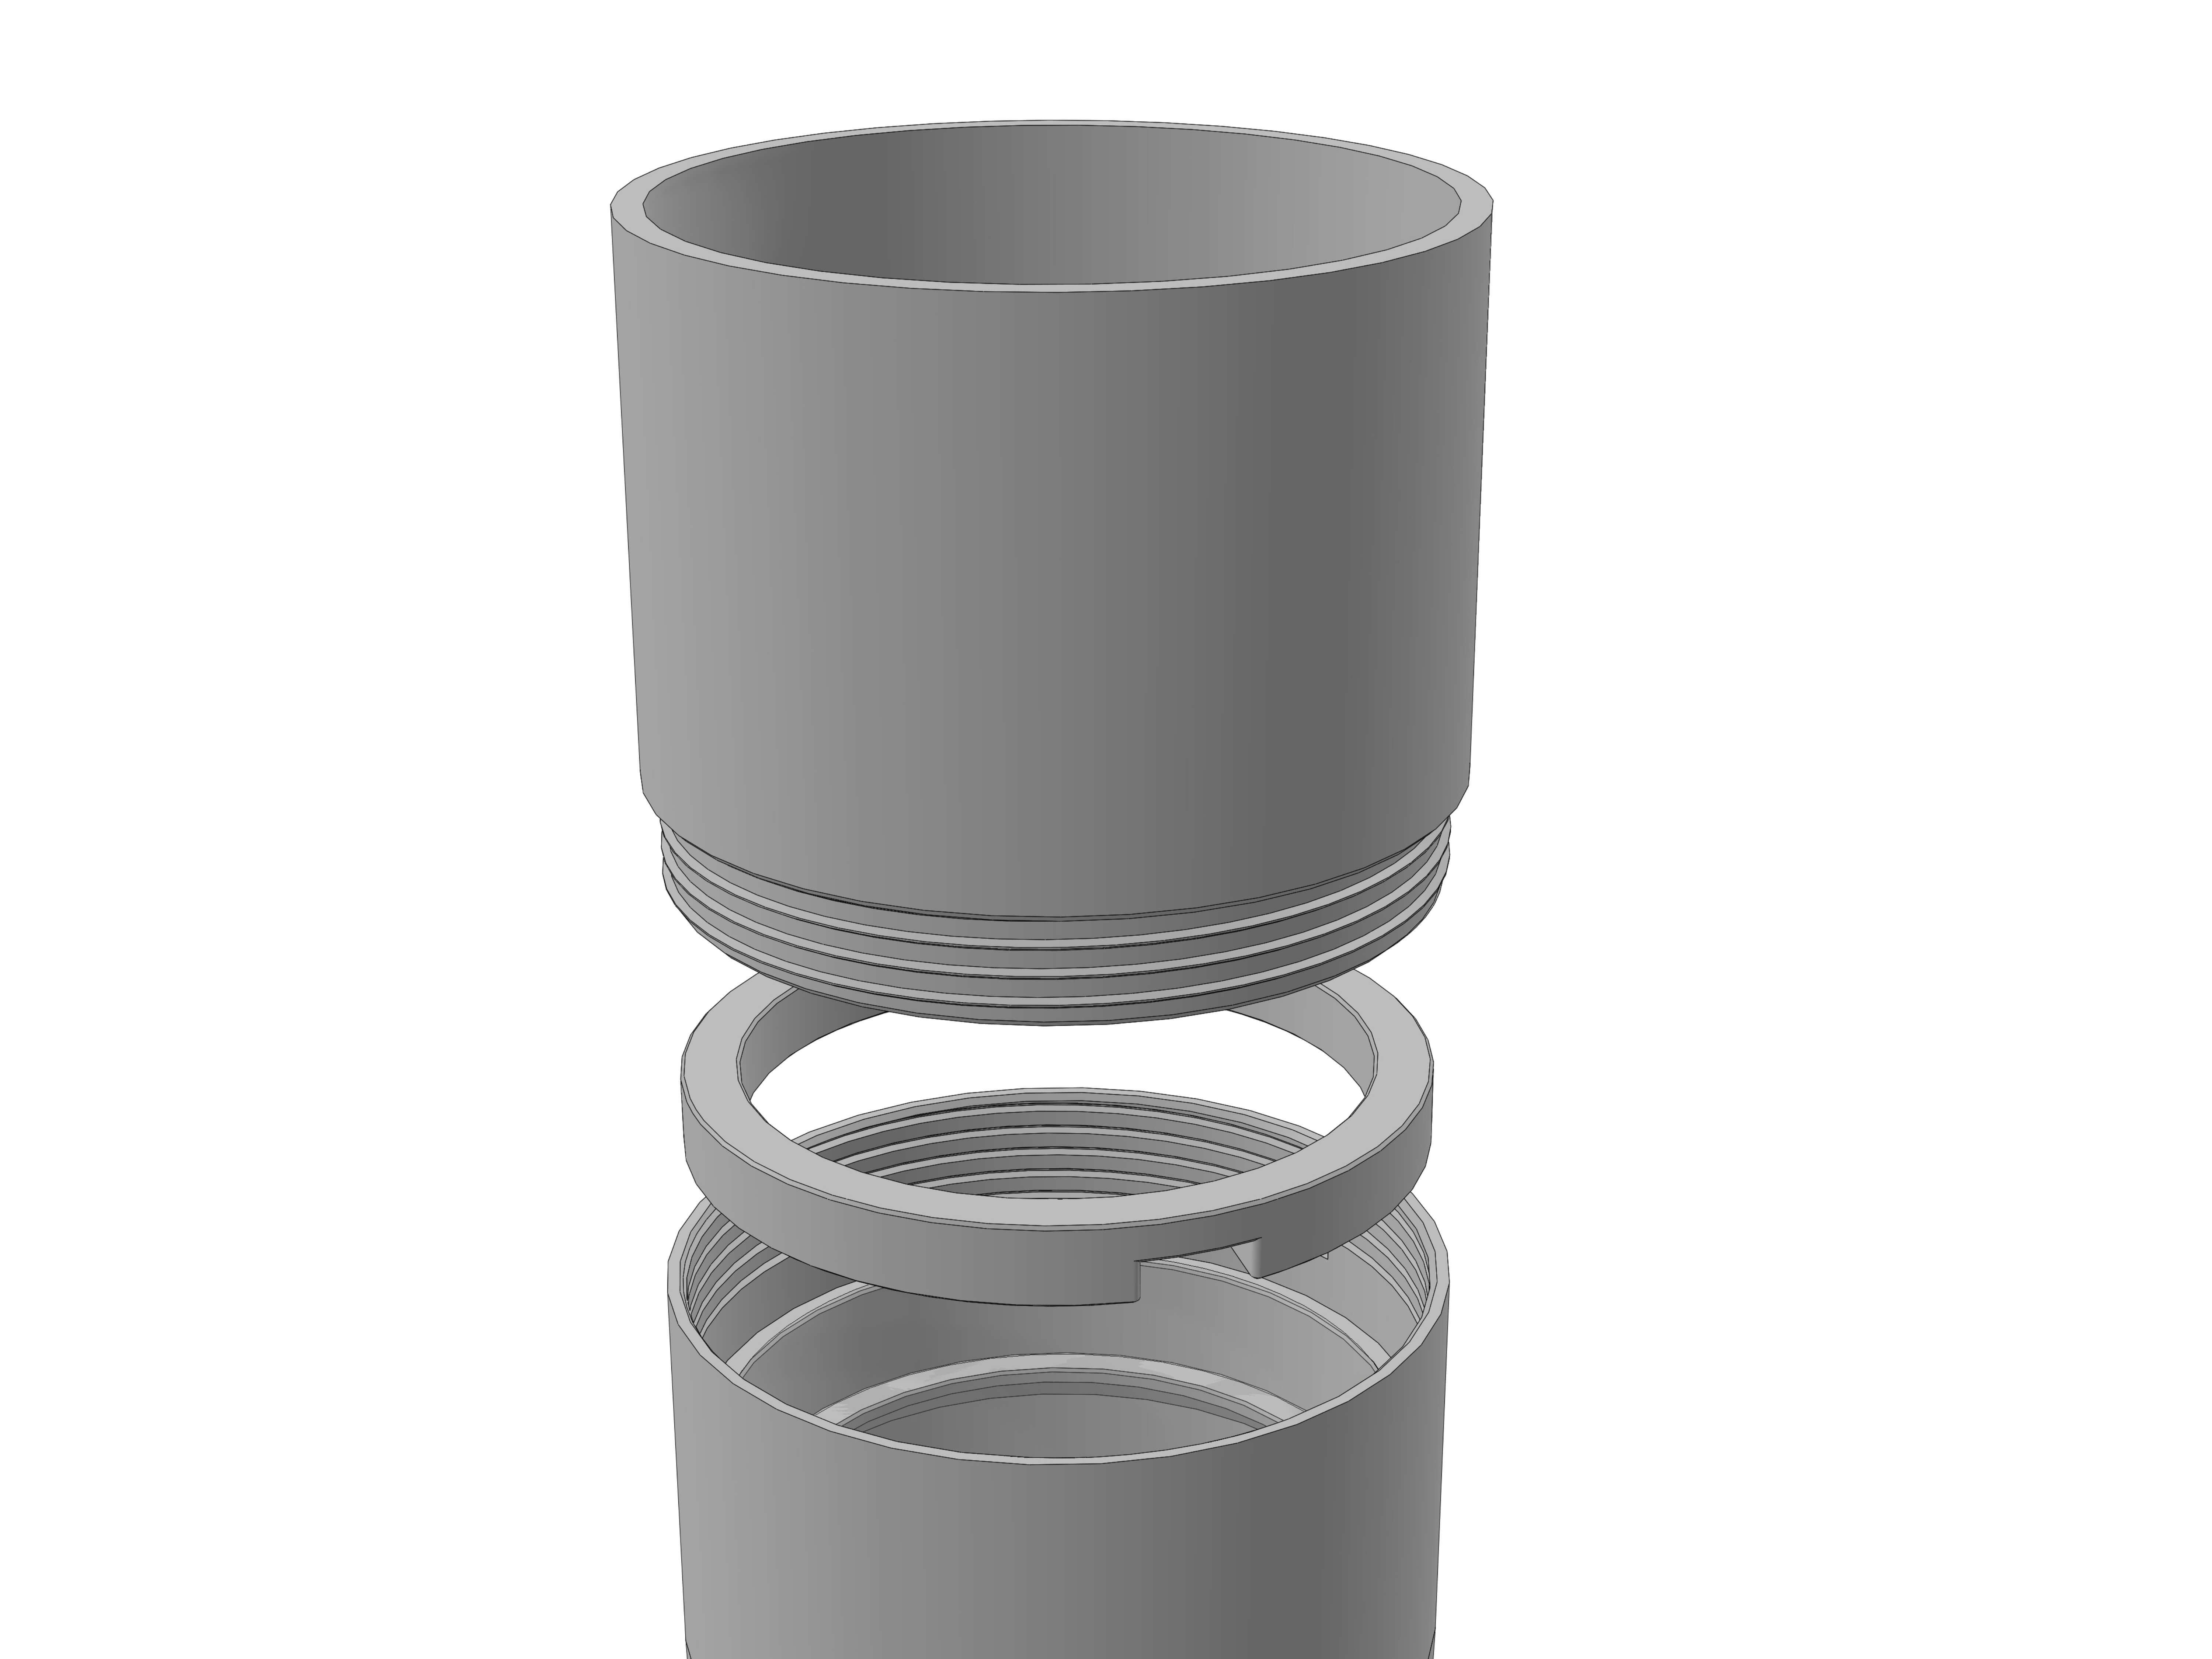
Insert the Lens_holder over the lens. The little cutout should face inwards. Then screw the dew shield on top. The dew shield secures the lens and holder from falling out, but don't screw it on too tight.
If you don't have any grease available, skip this step. Adding some grease is recommended though.
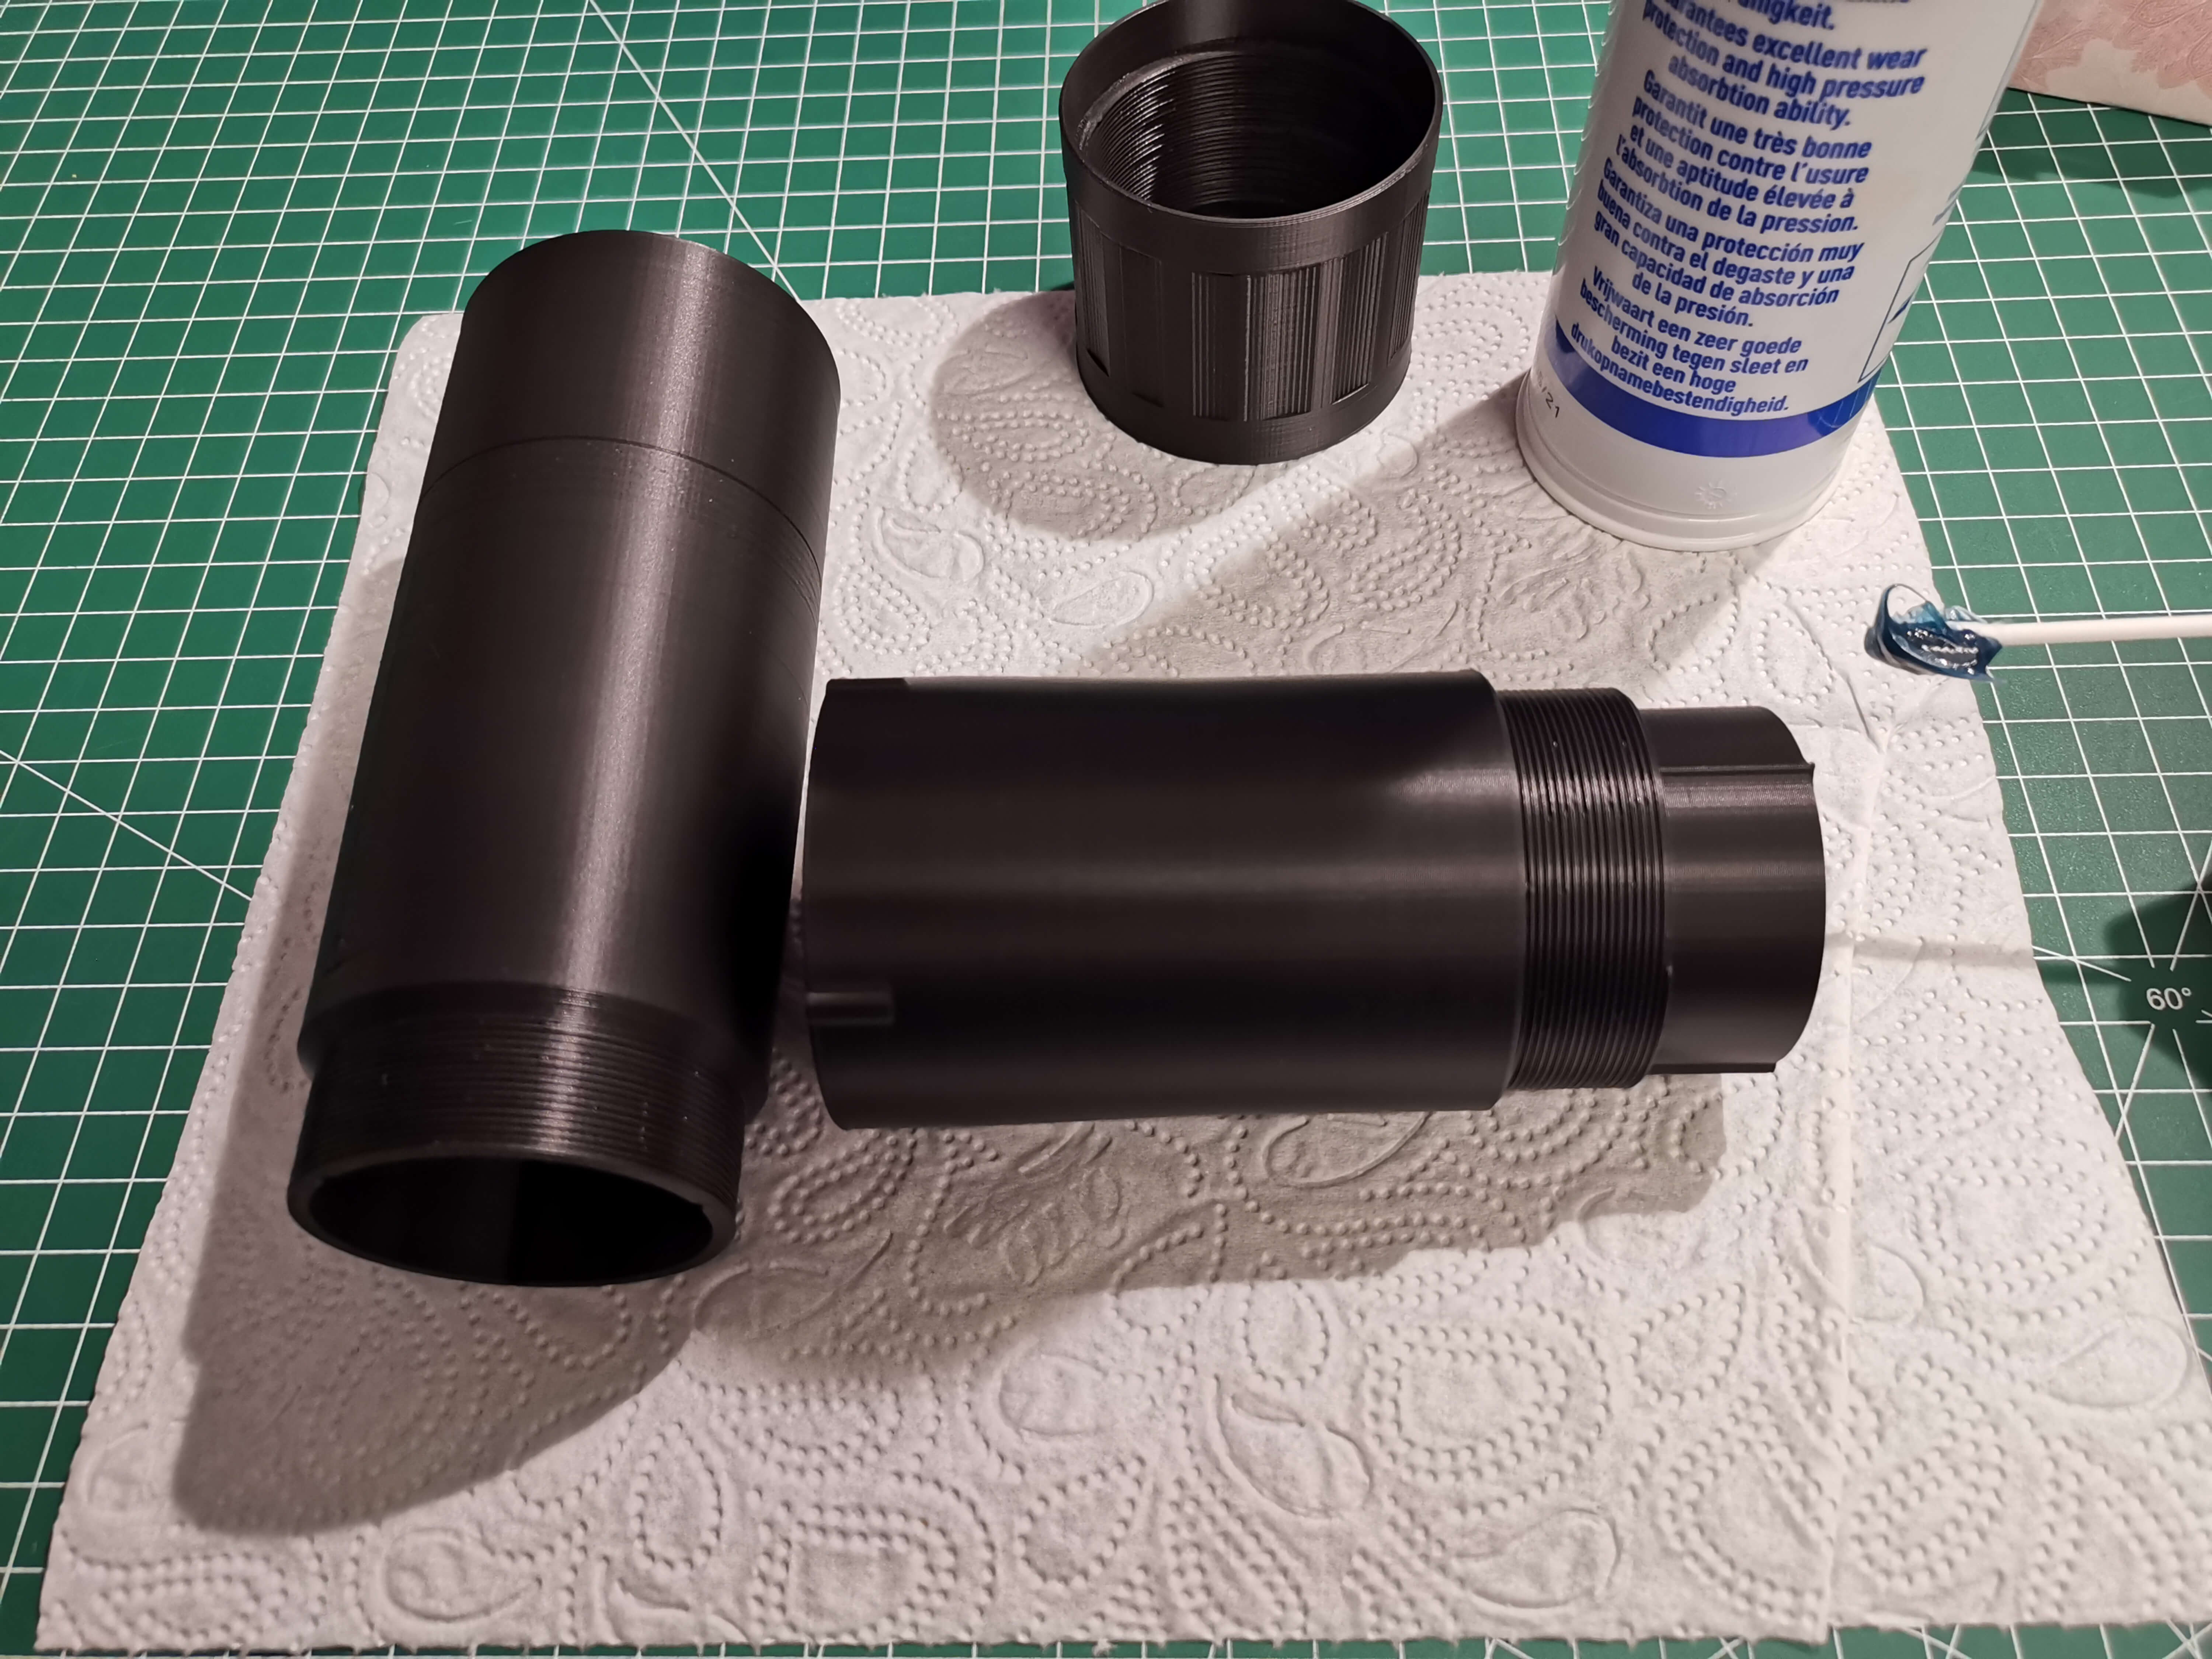
Apply a generous amount of general purpose grease to the thread and top section of the rear part. Apply extra grease to the three sprockets.
Also apply grease to the thread part of the front guider part.
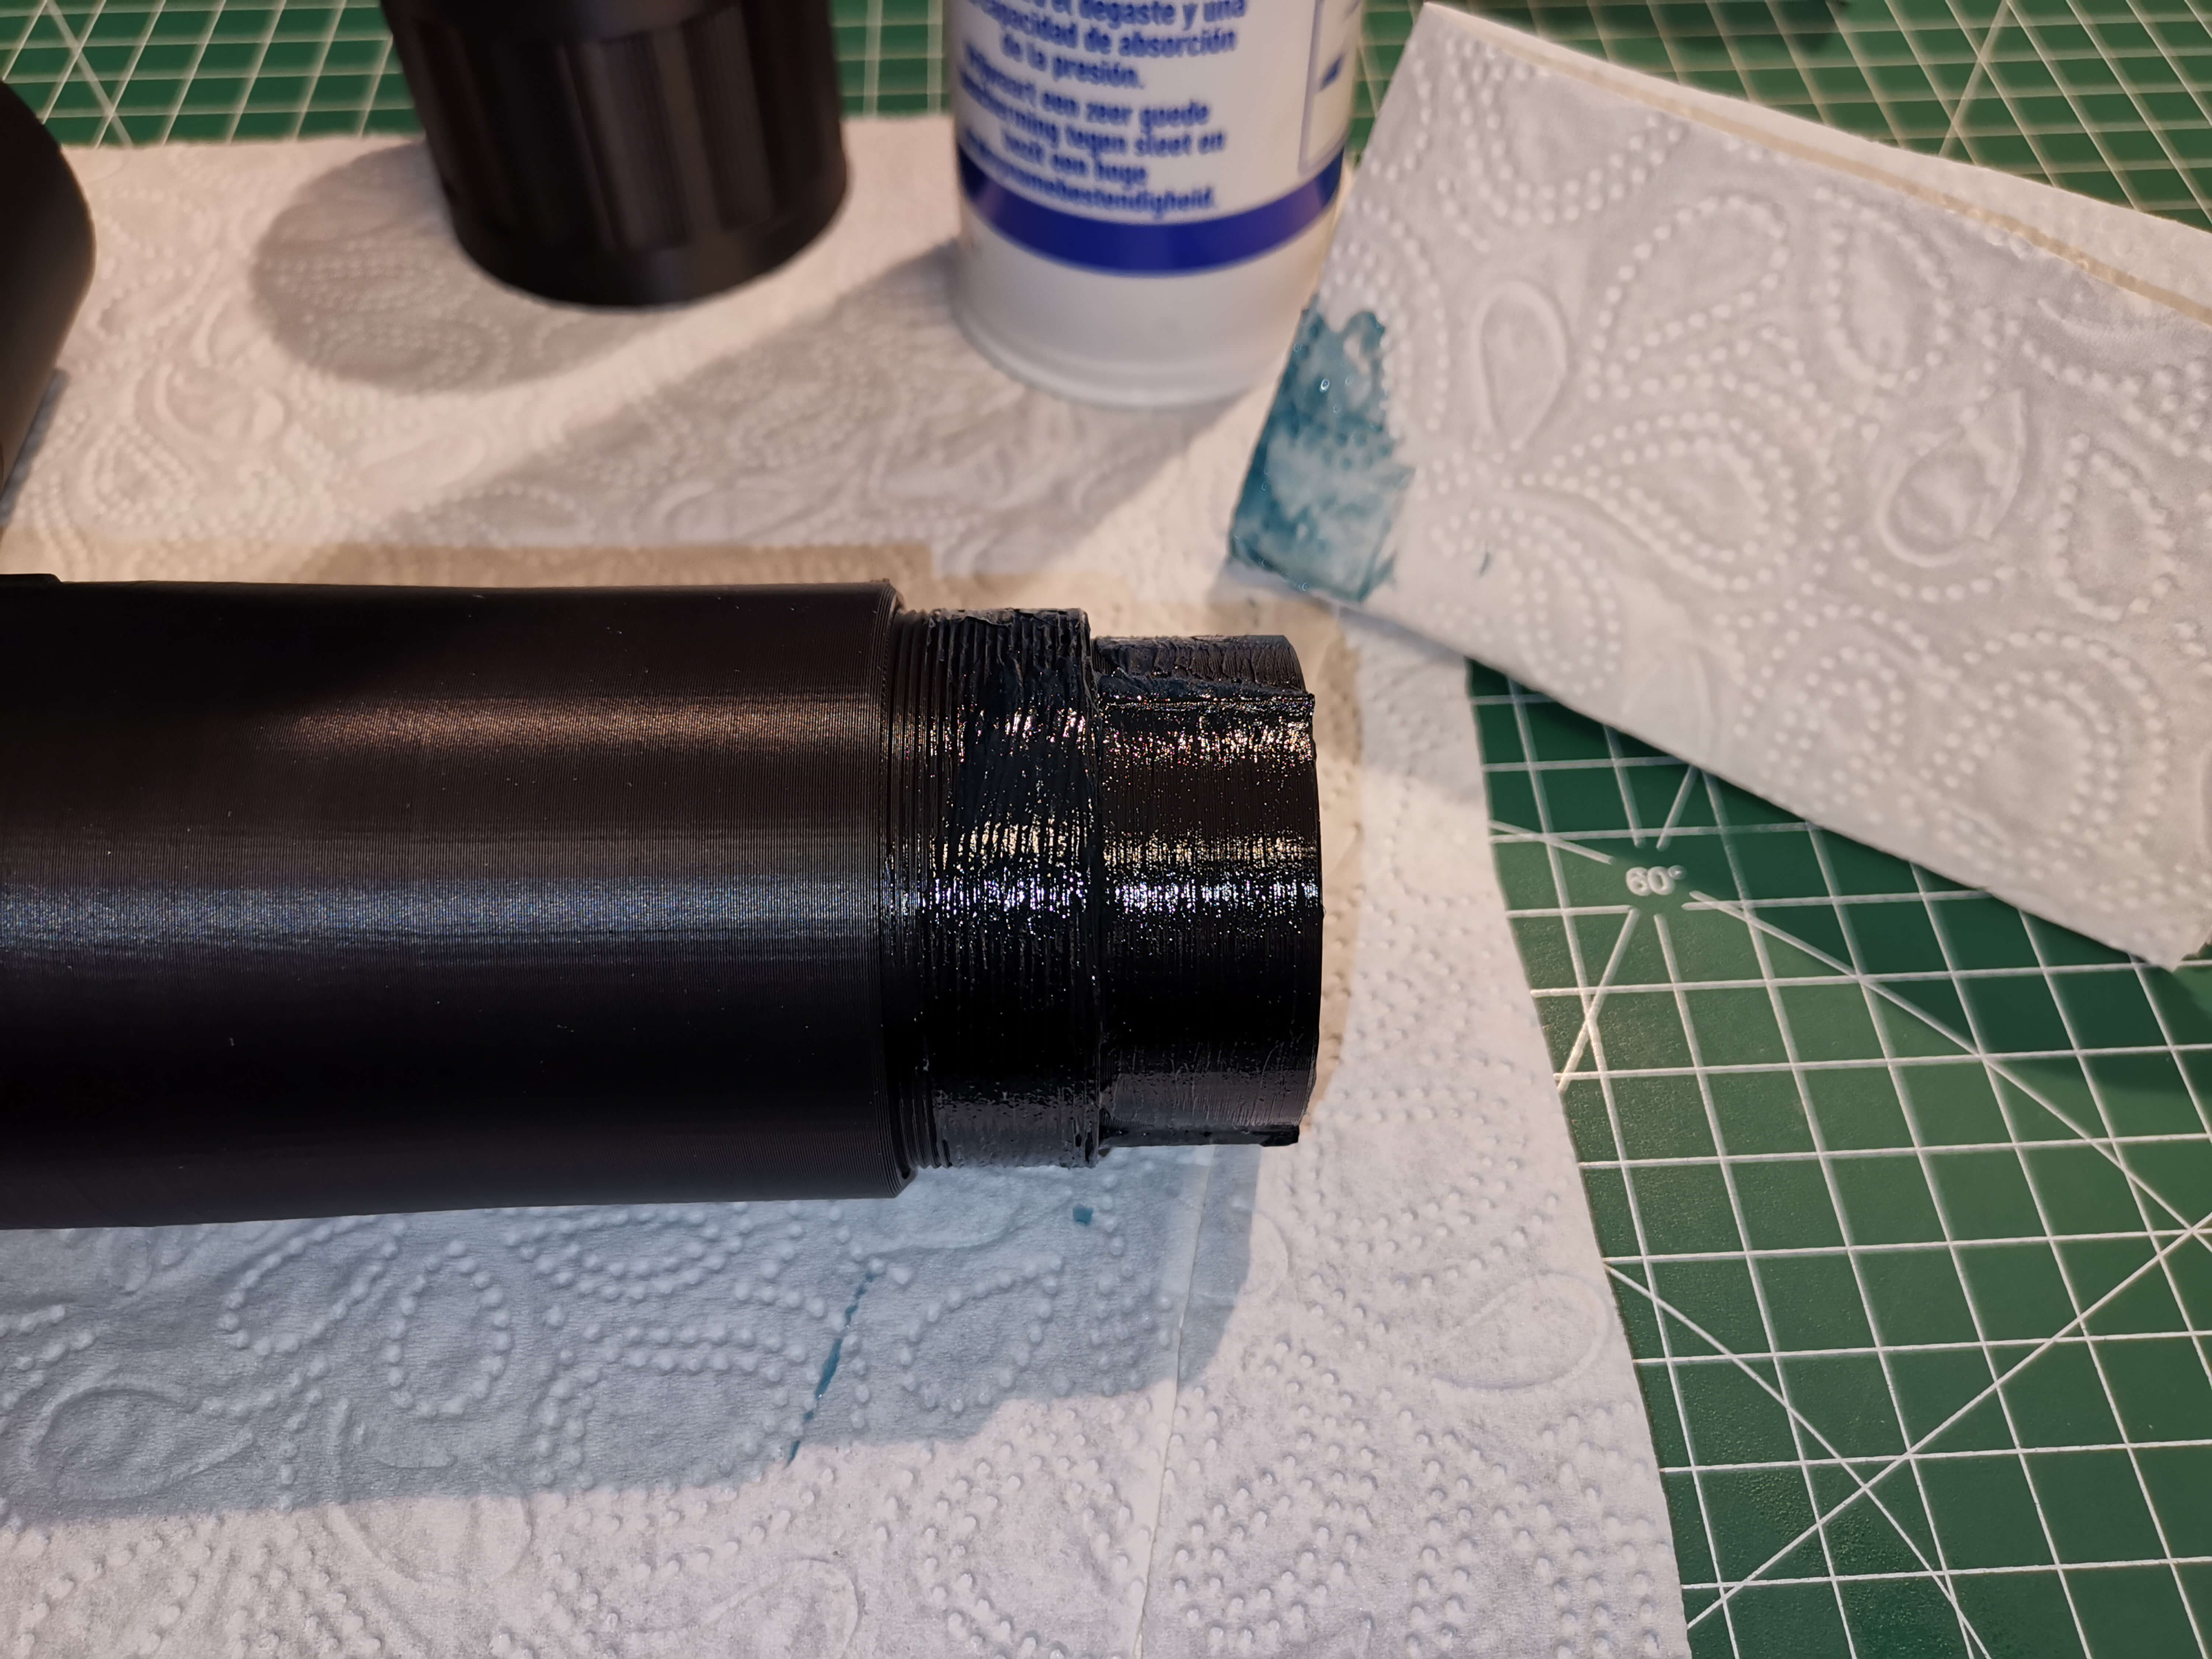
Put the two pieces together without the mid part and move them in and out a few times until they move smooth.
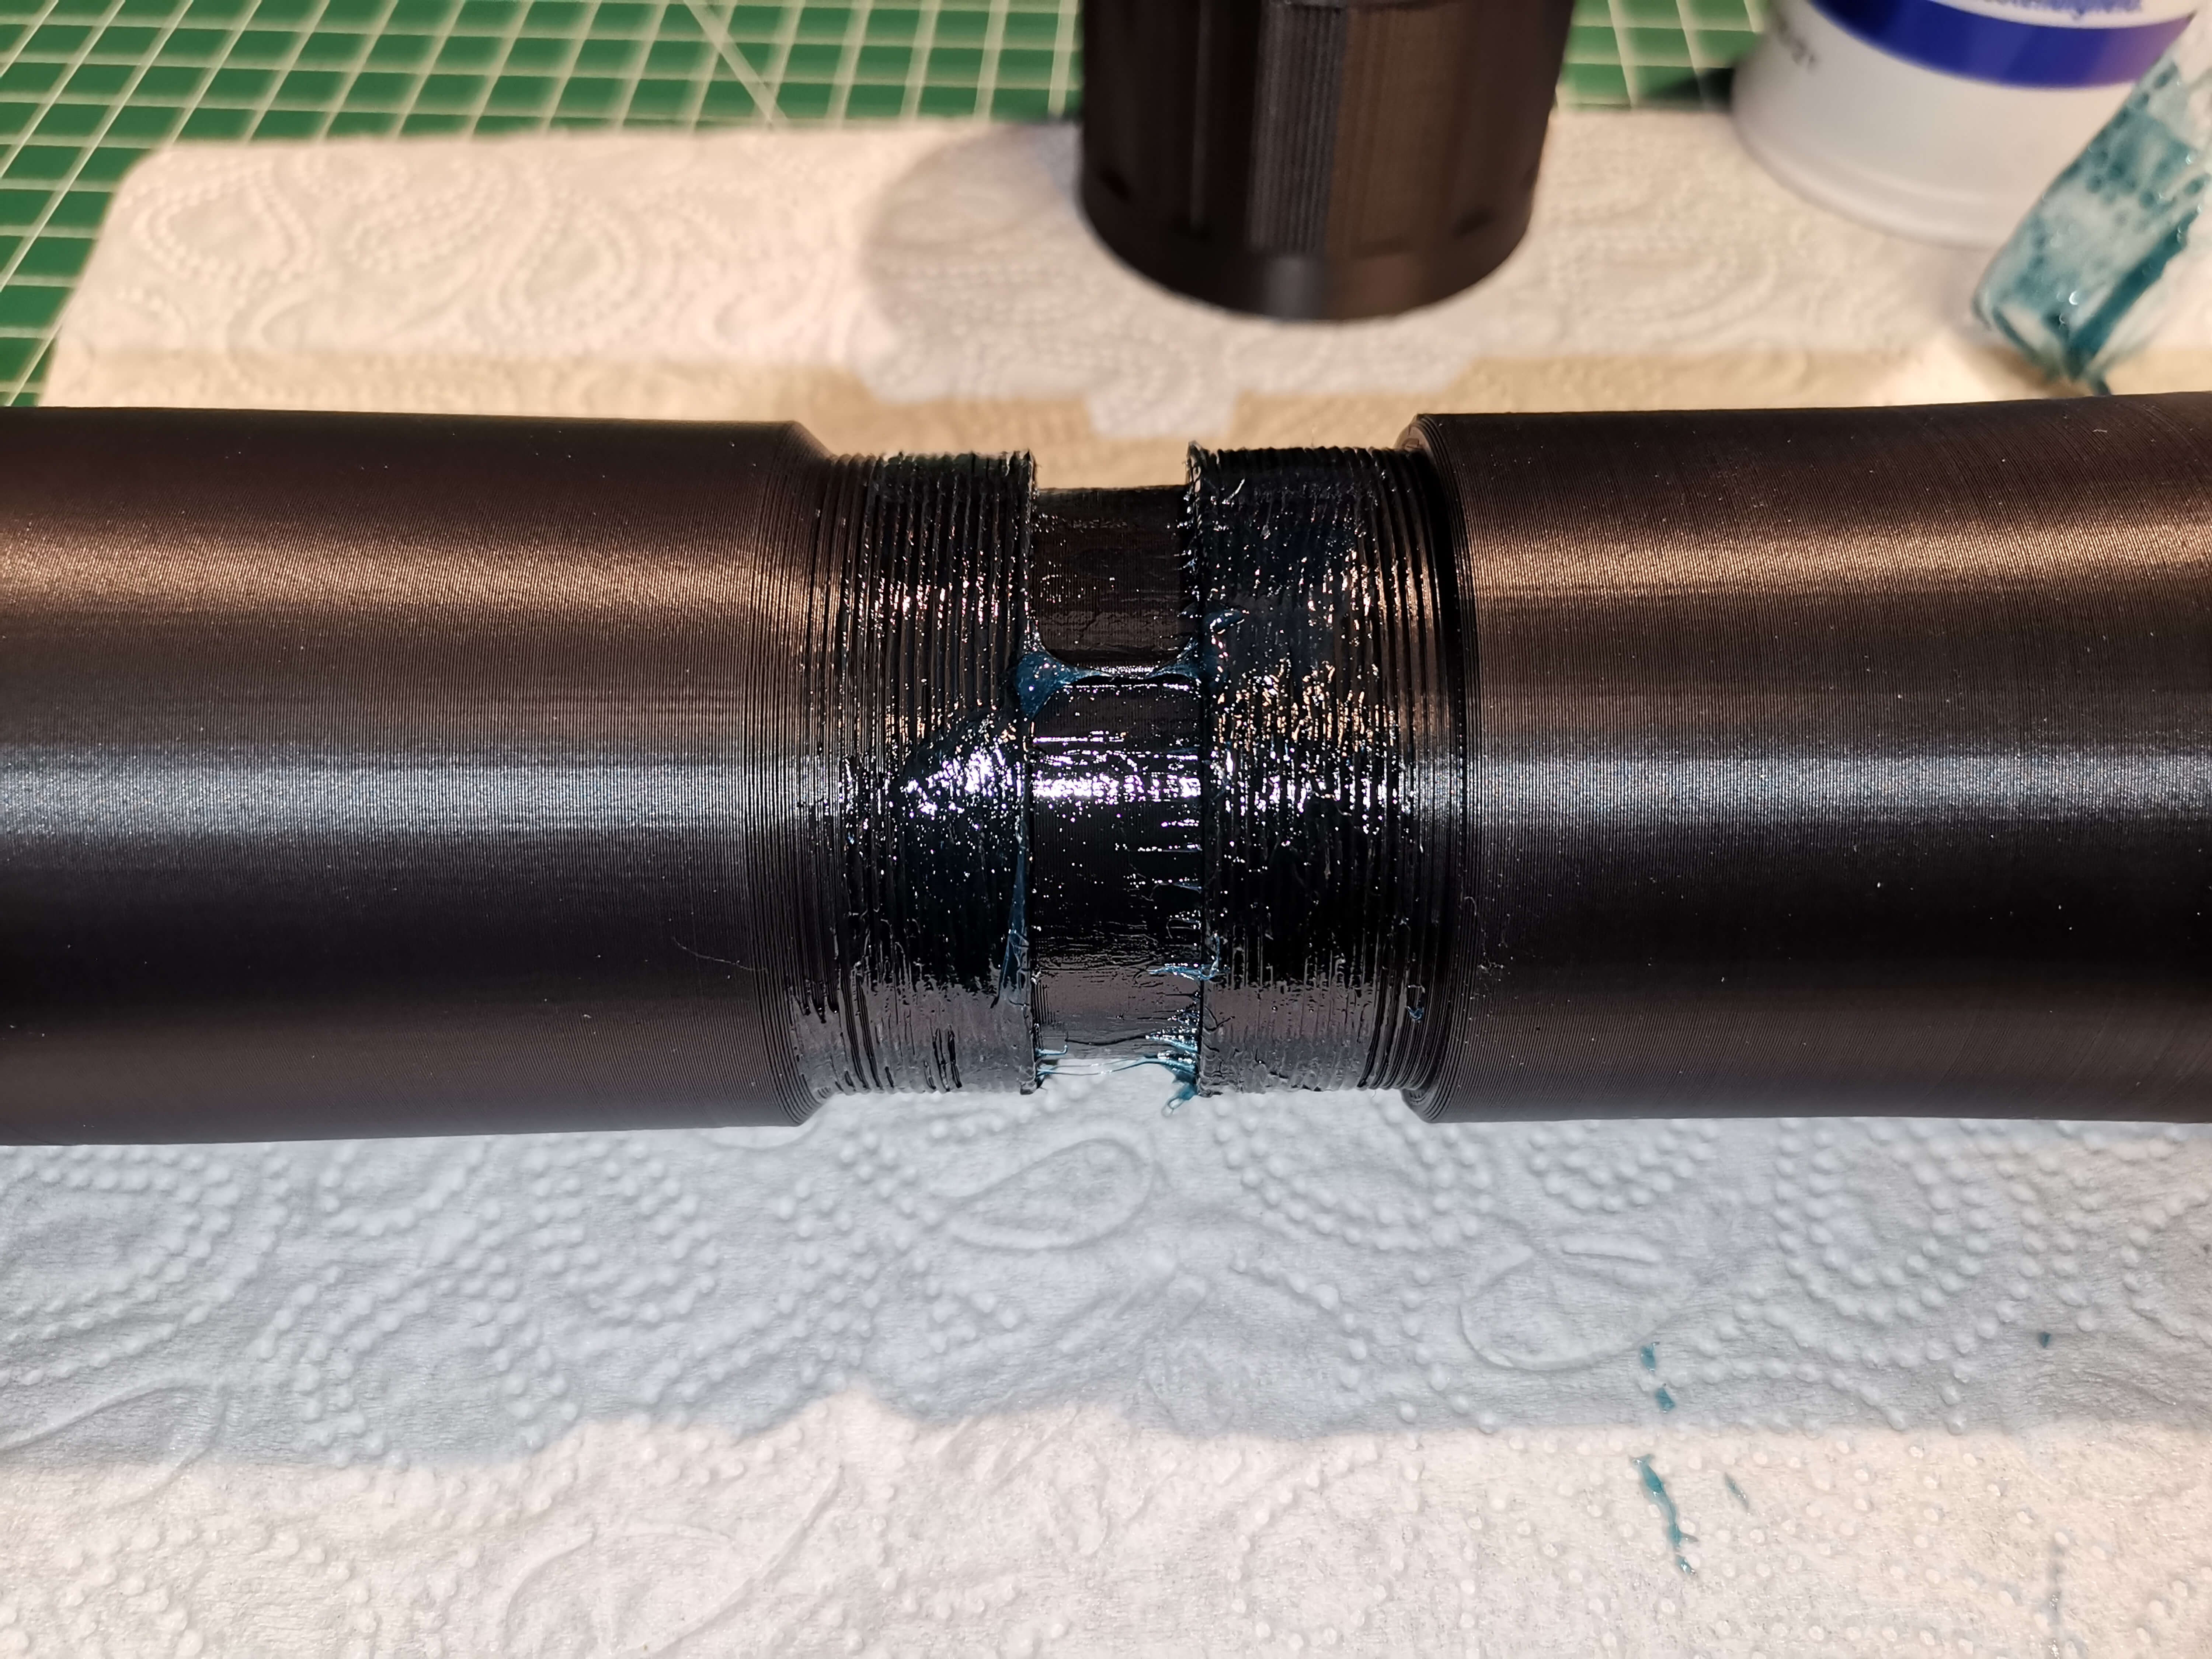
Screw the mid part to the rear part. Note the little arrow on the mid part, it indicates the front and should face away from the rear.
The thread on the rear section is a lefthand thread. That means to screw on the mid you'll have to rotate it counterclockwise.
Only screw the mid on until the thread catches, then one rotation further.
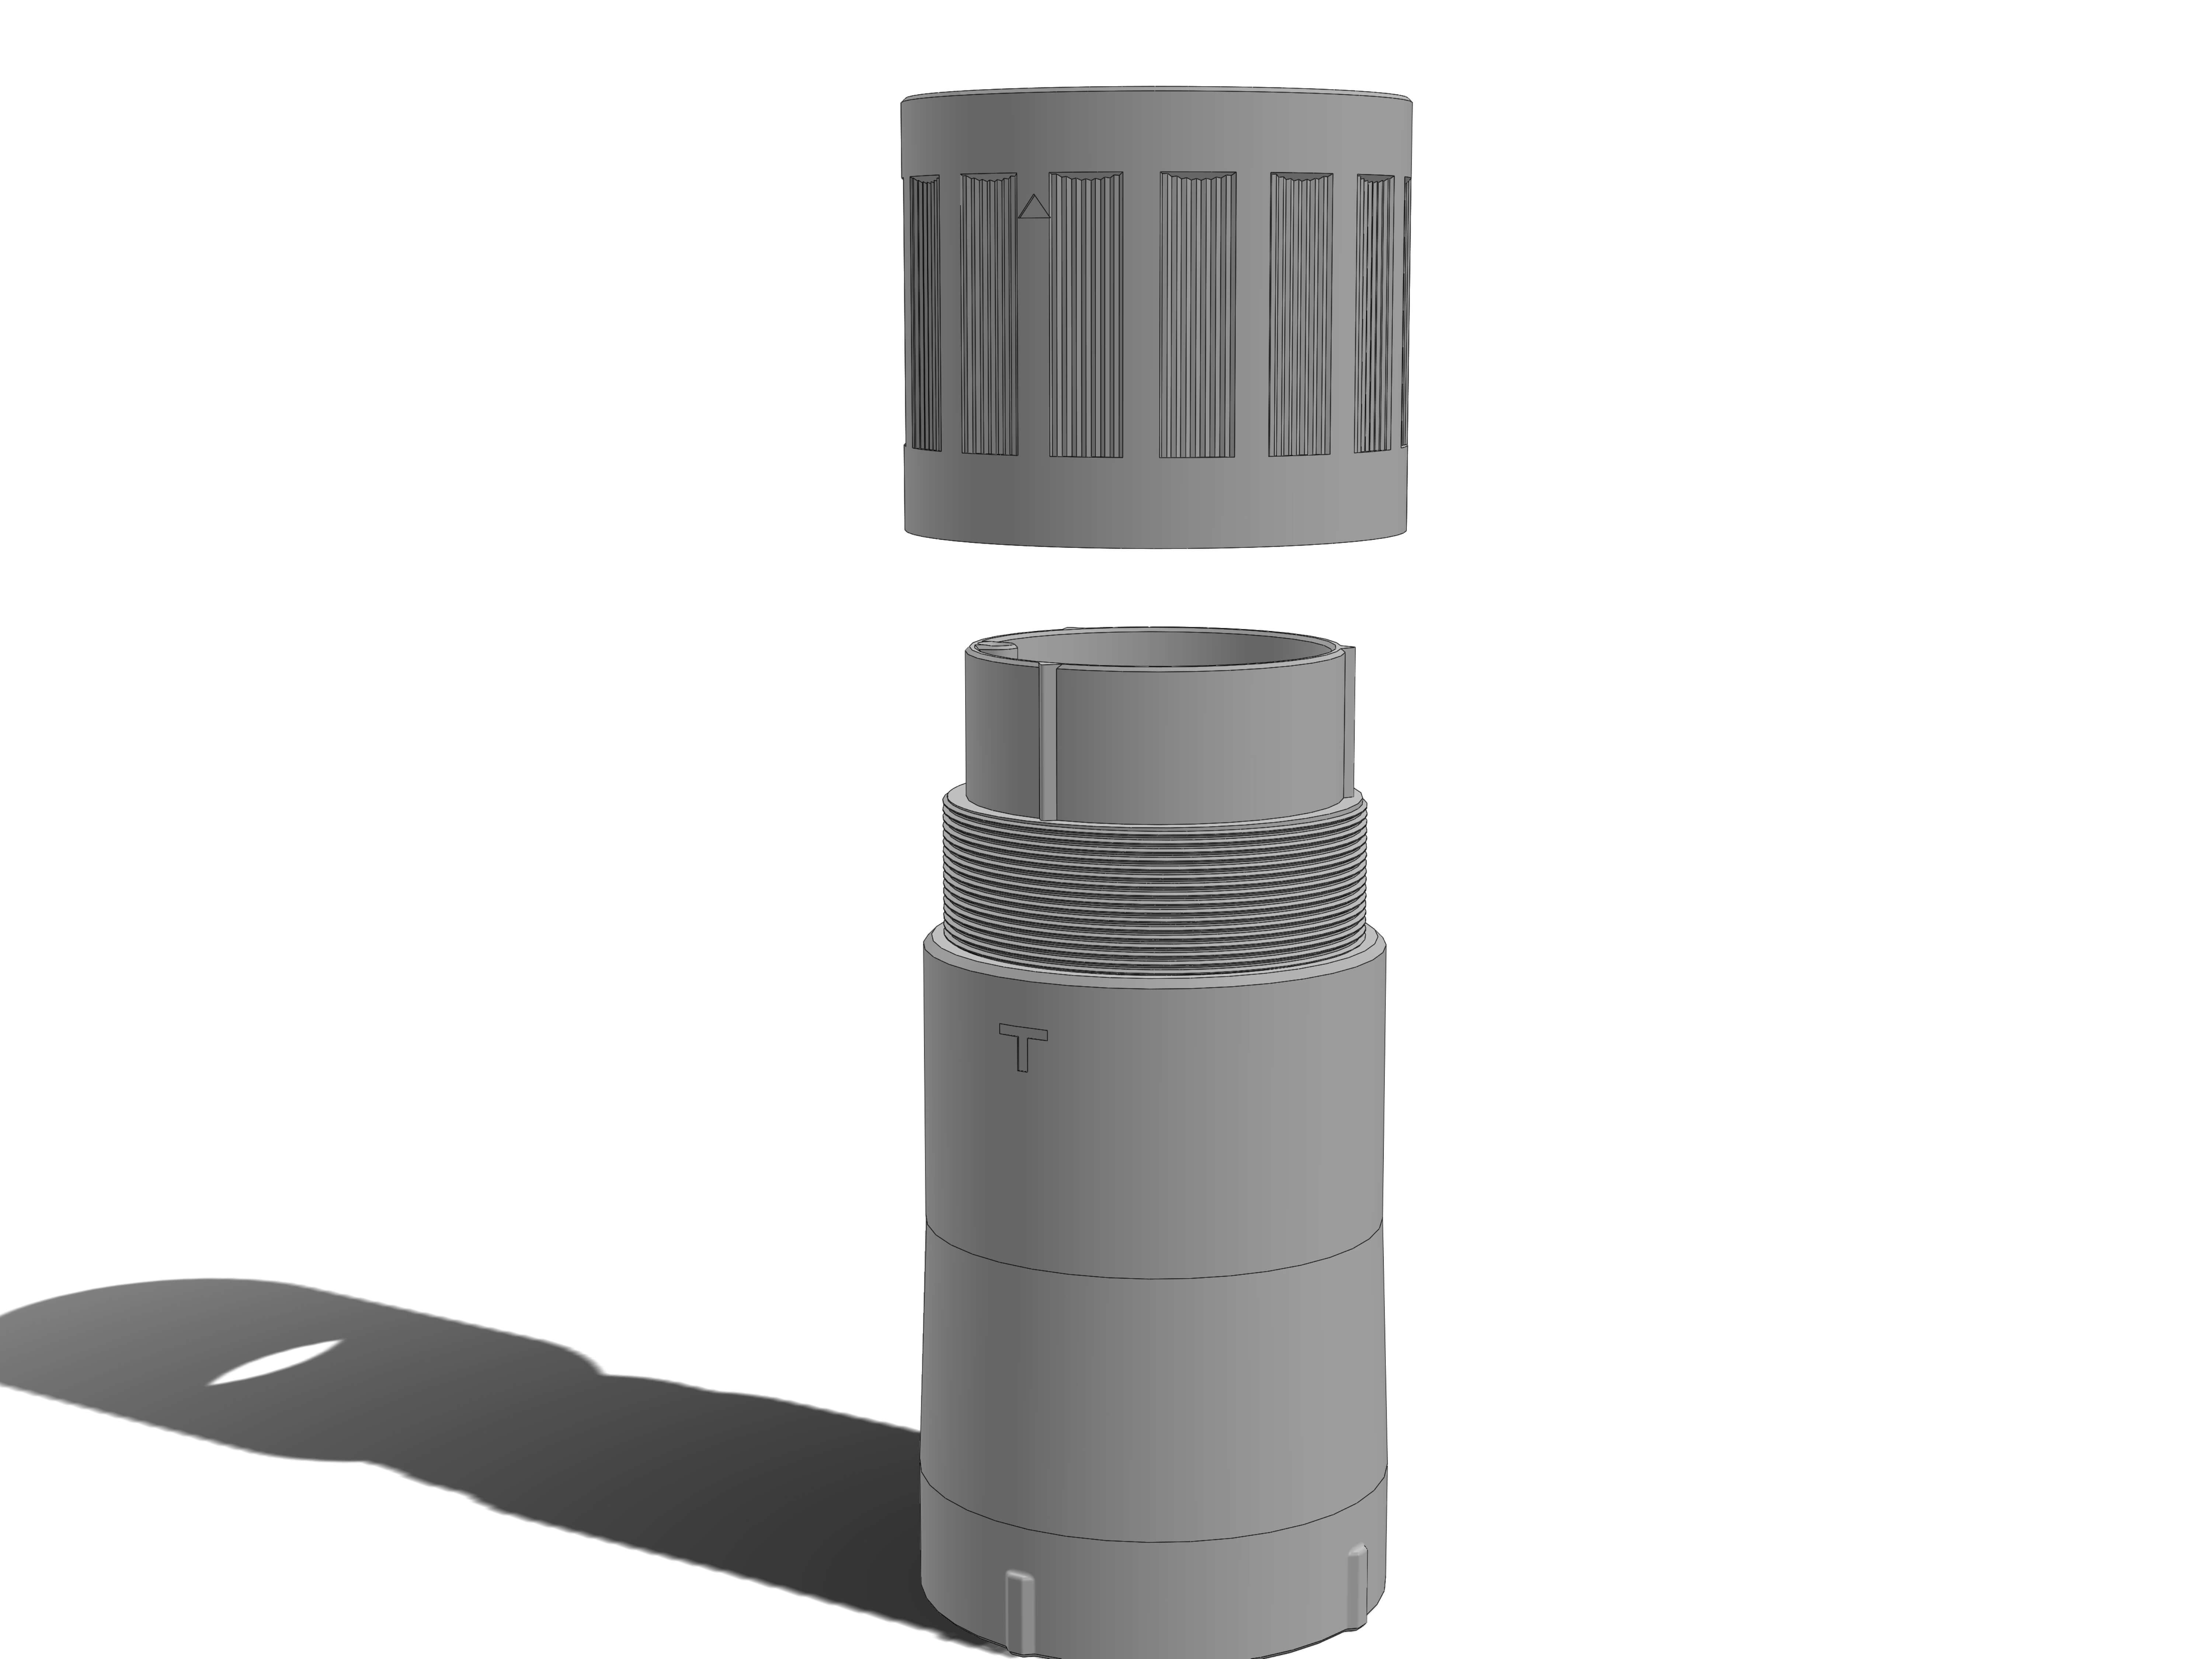
Now screw on the front section. This has a normal thread and can be screwed on normally. Also only screw it on with one rotation after the thread catches.
Make sure both threads are straight.
Align the two "T" shapes on front and rear.
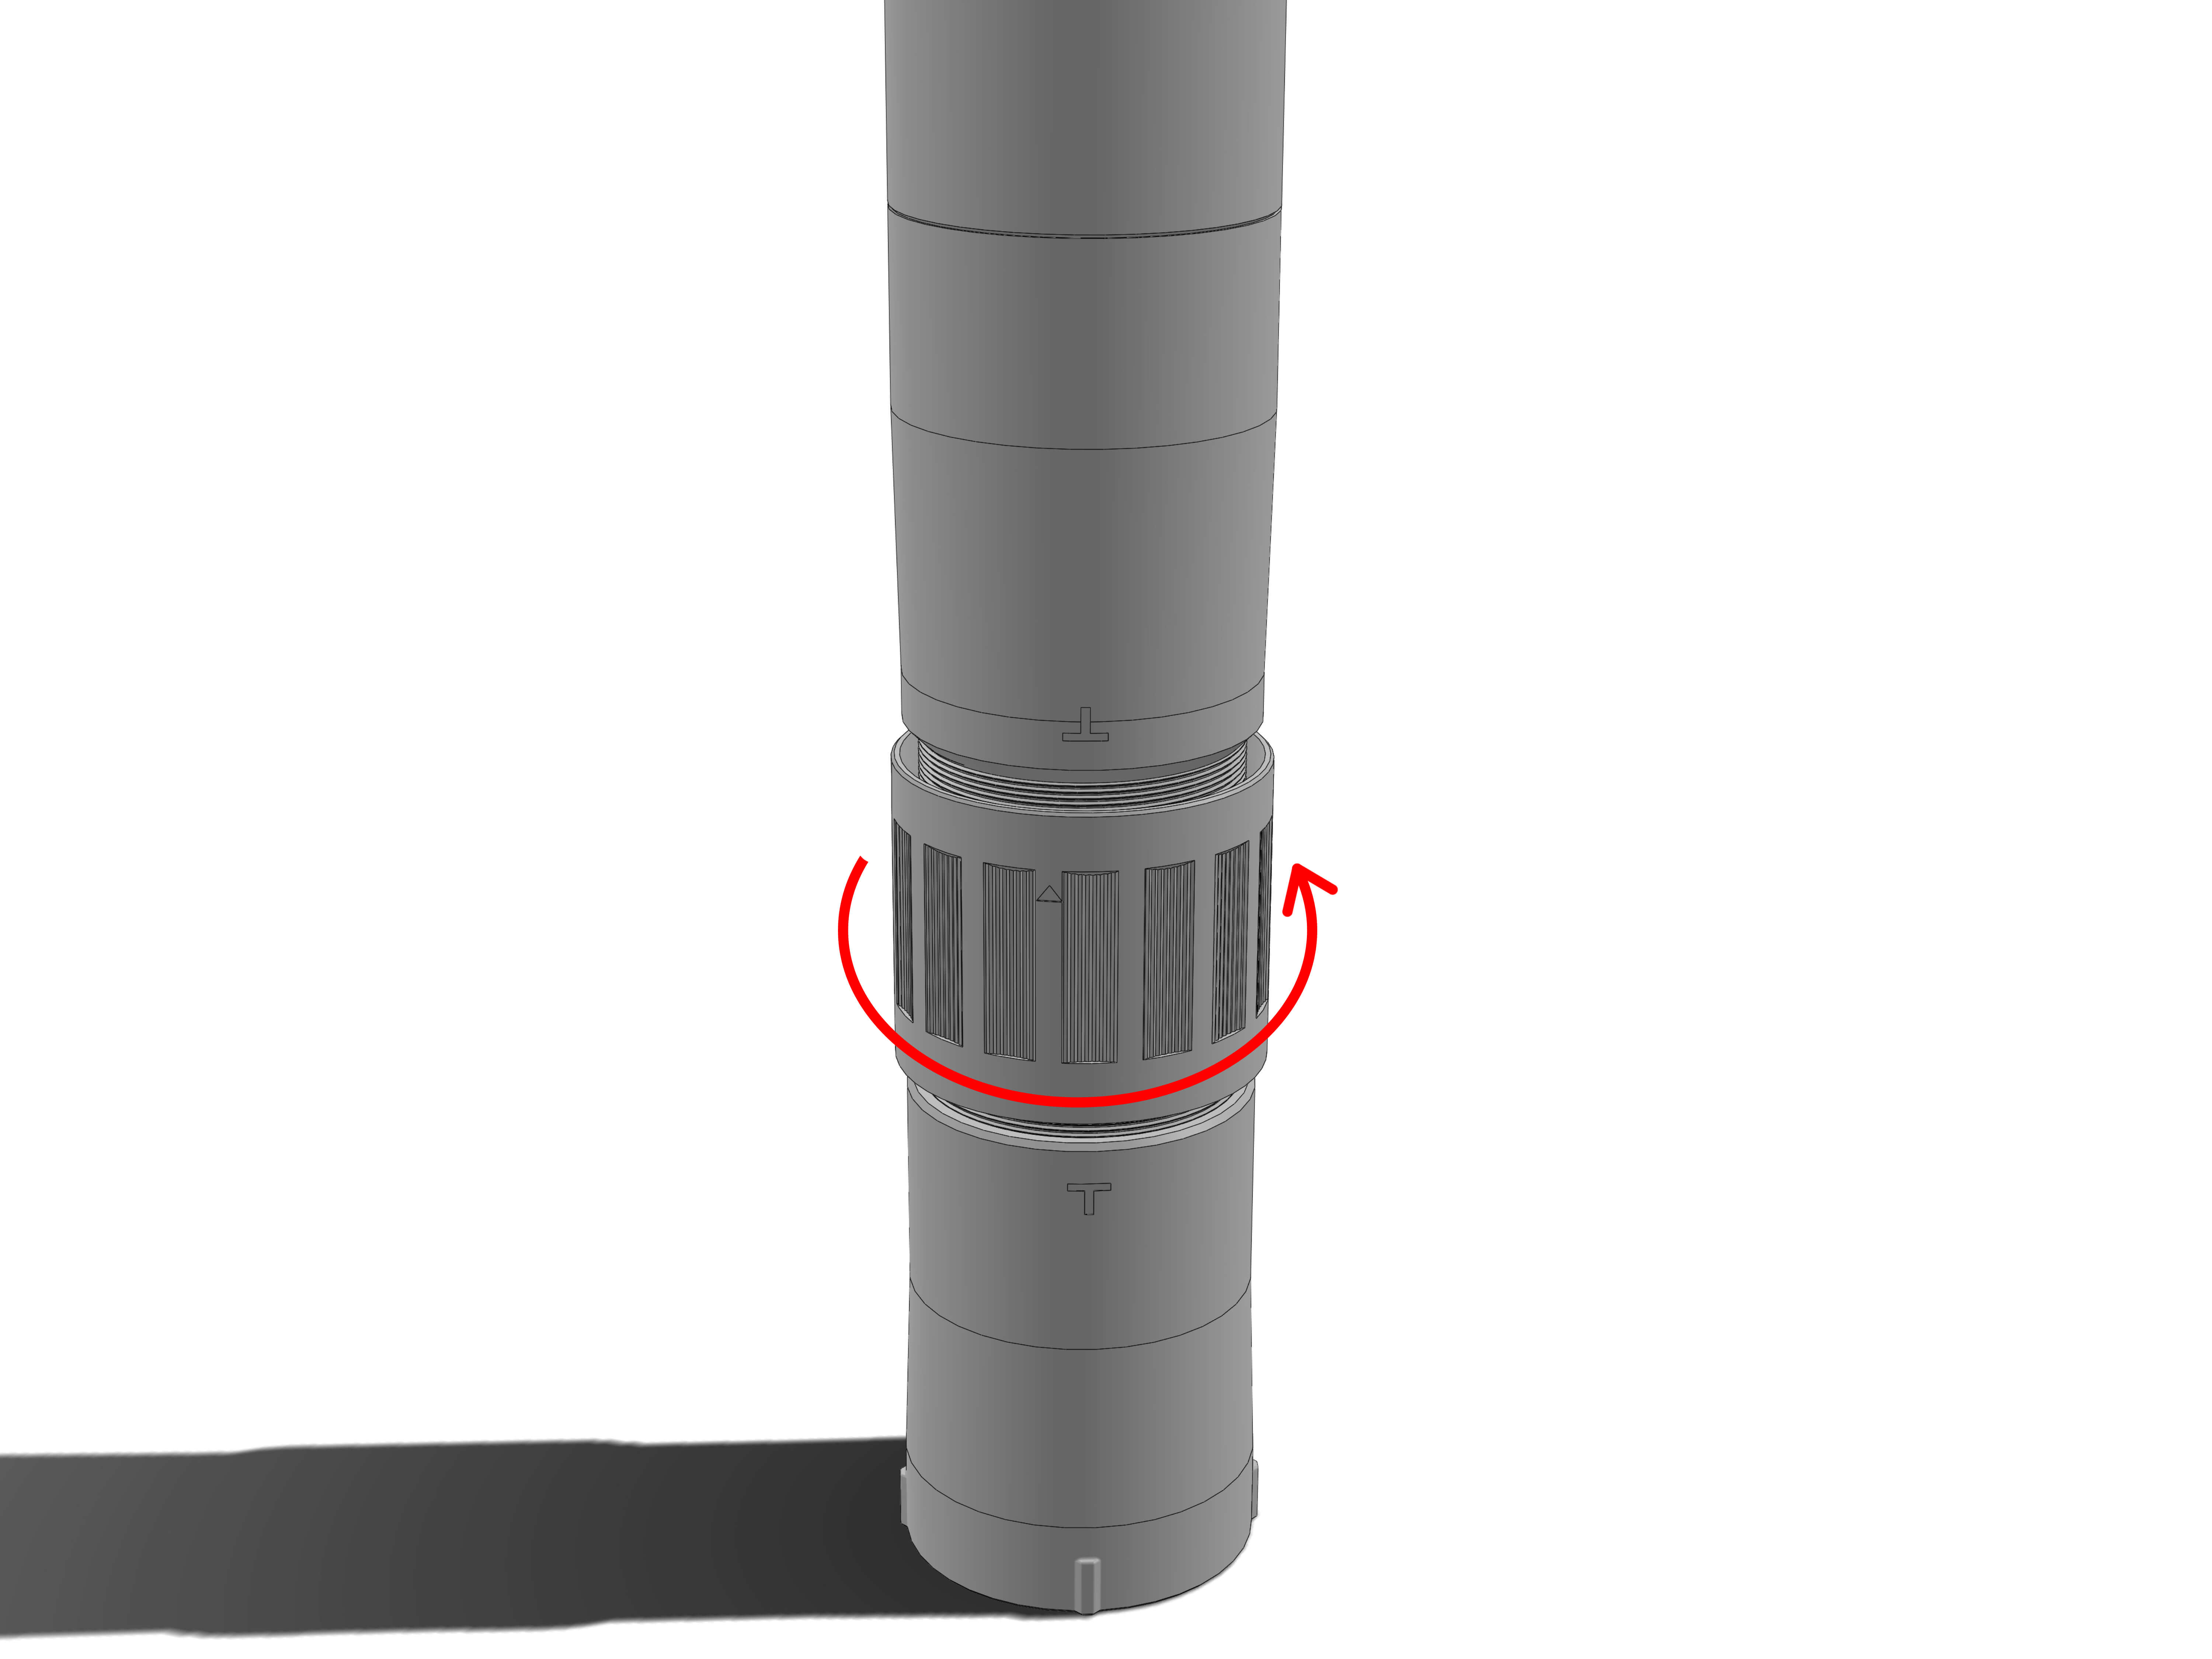
Now hold both rear and front with one hand to keep them from rotating and then rotate the mid section clockwise to the right. This will move front and rear inwards.
Once front and rear meet, the three sprockets on the rear section will engage with the front. Once that has happened you can stop holding front and rear and just rotate the mid further, until it's corners start meeting the "T" shapes. The Guider will now be roughly in focus.
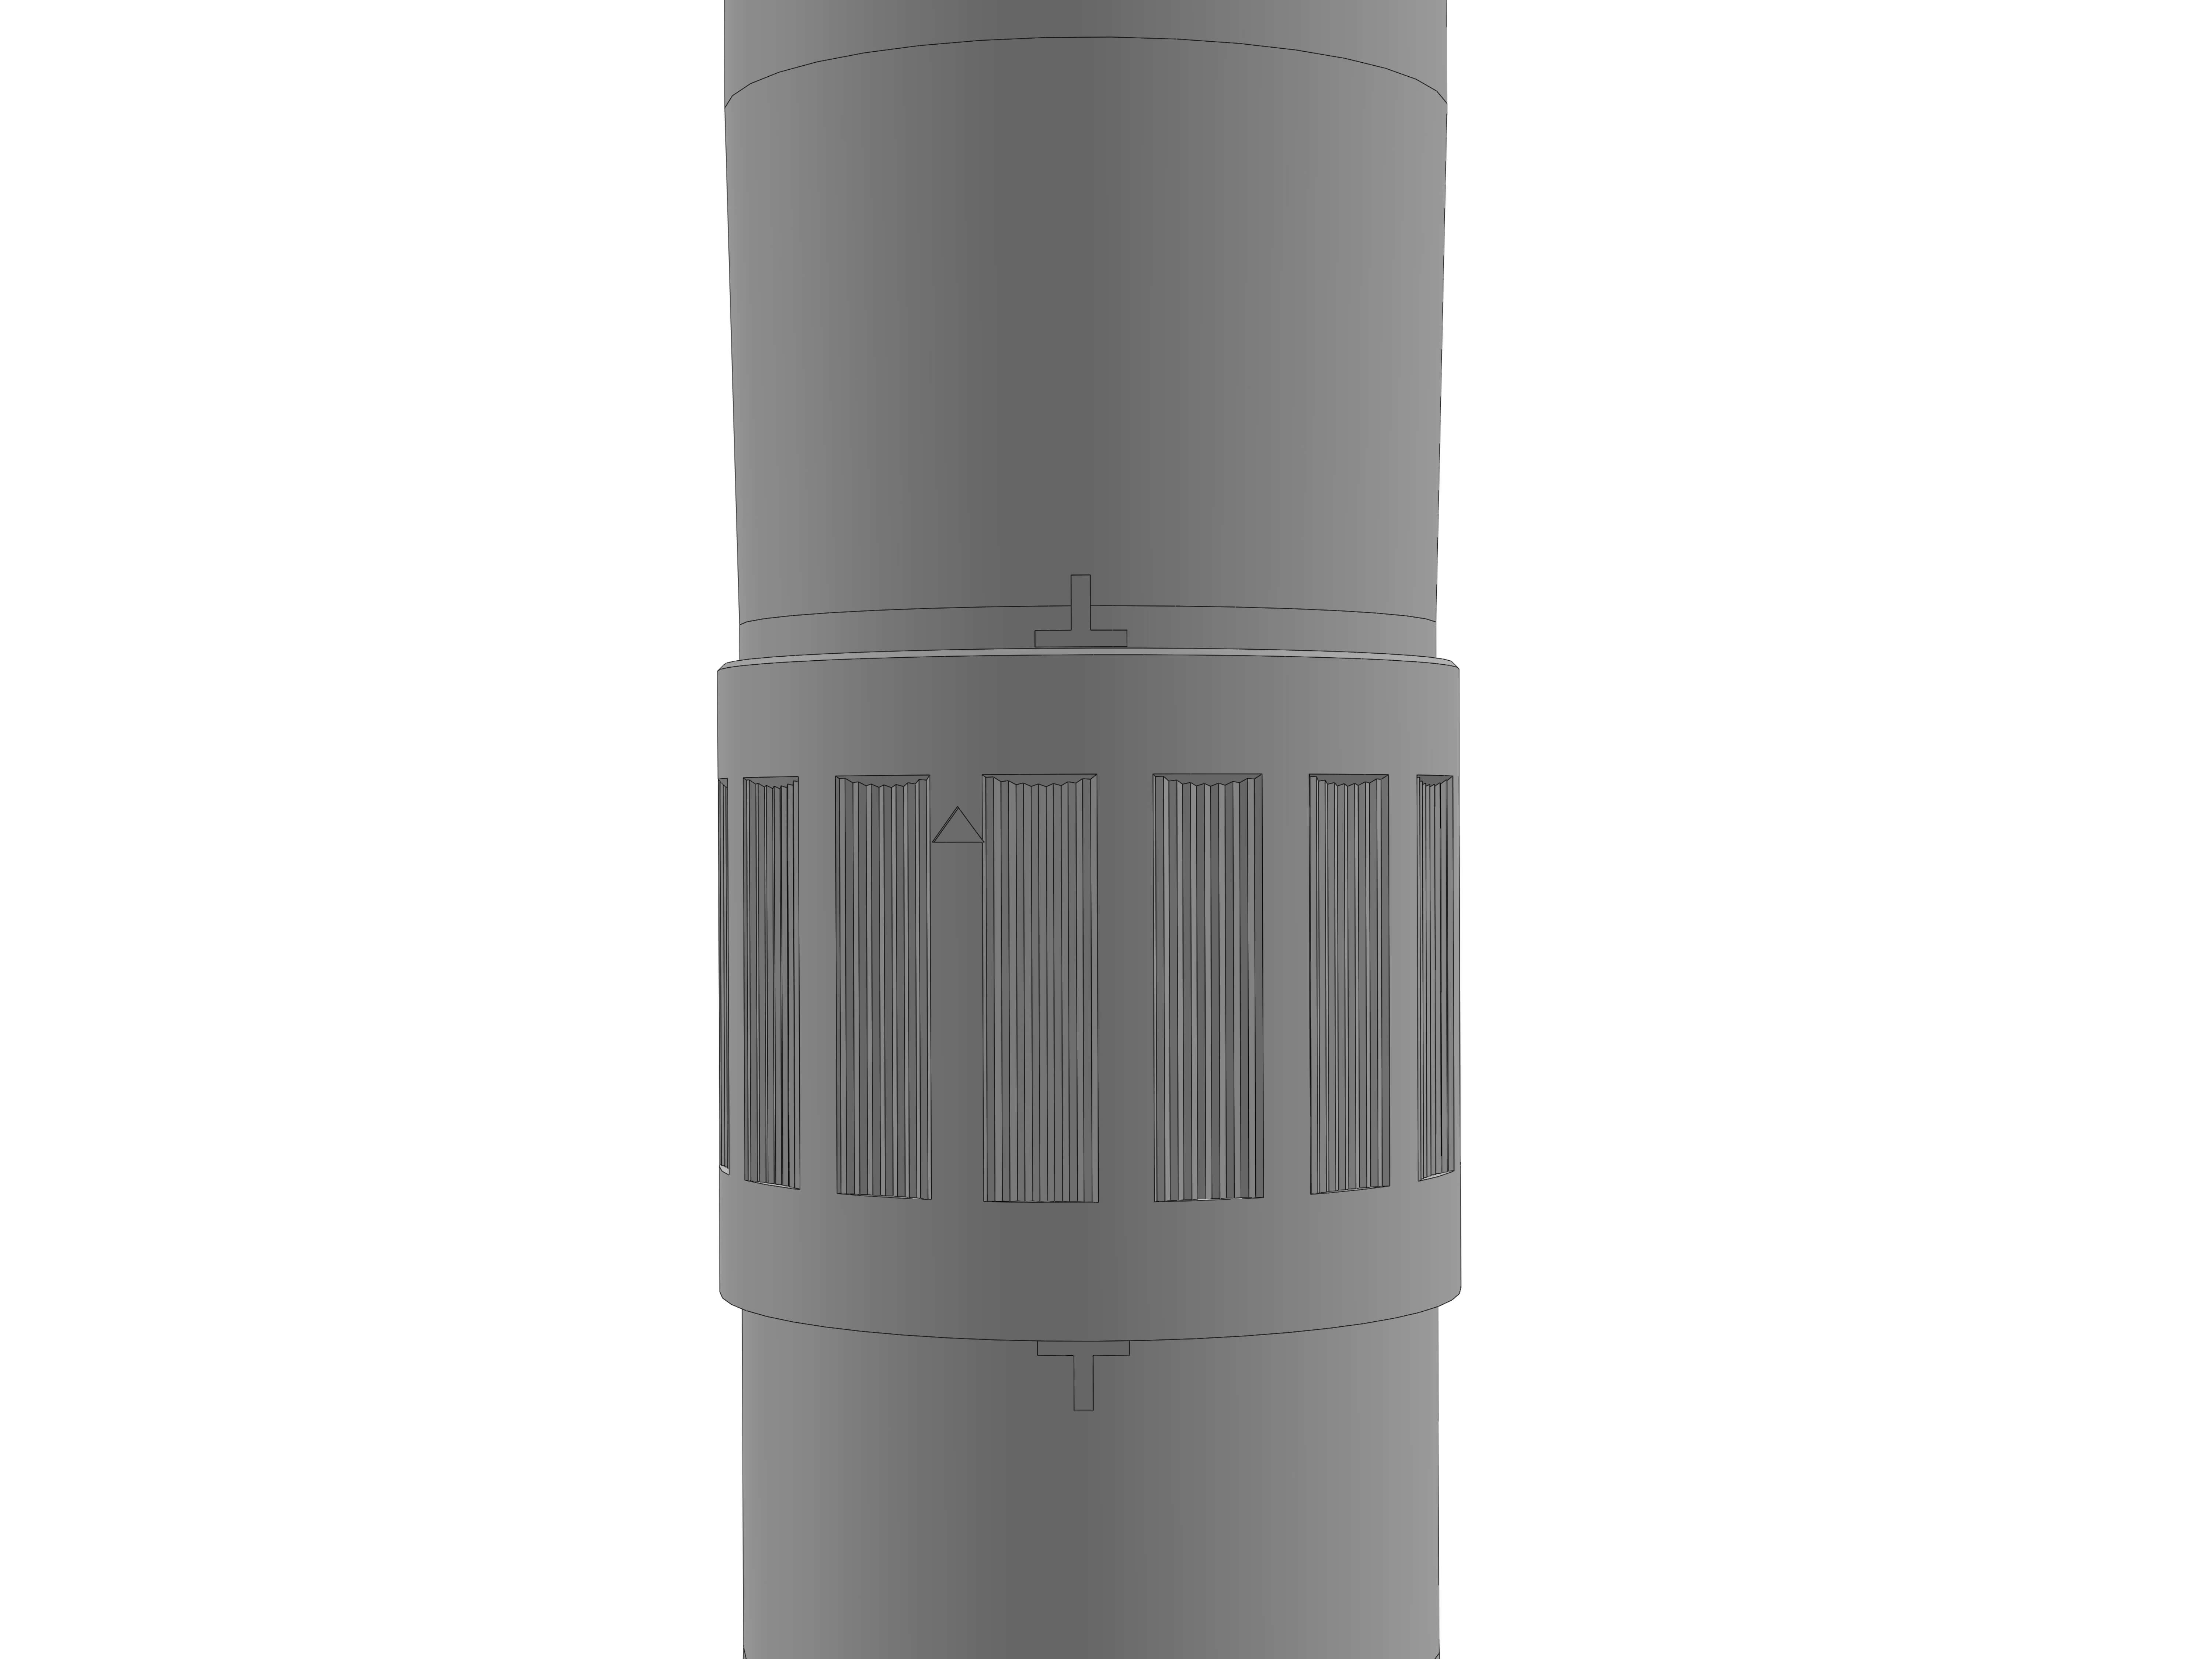
WIP below
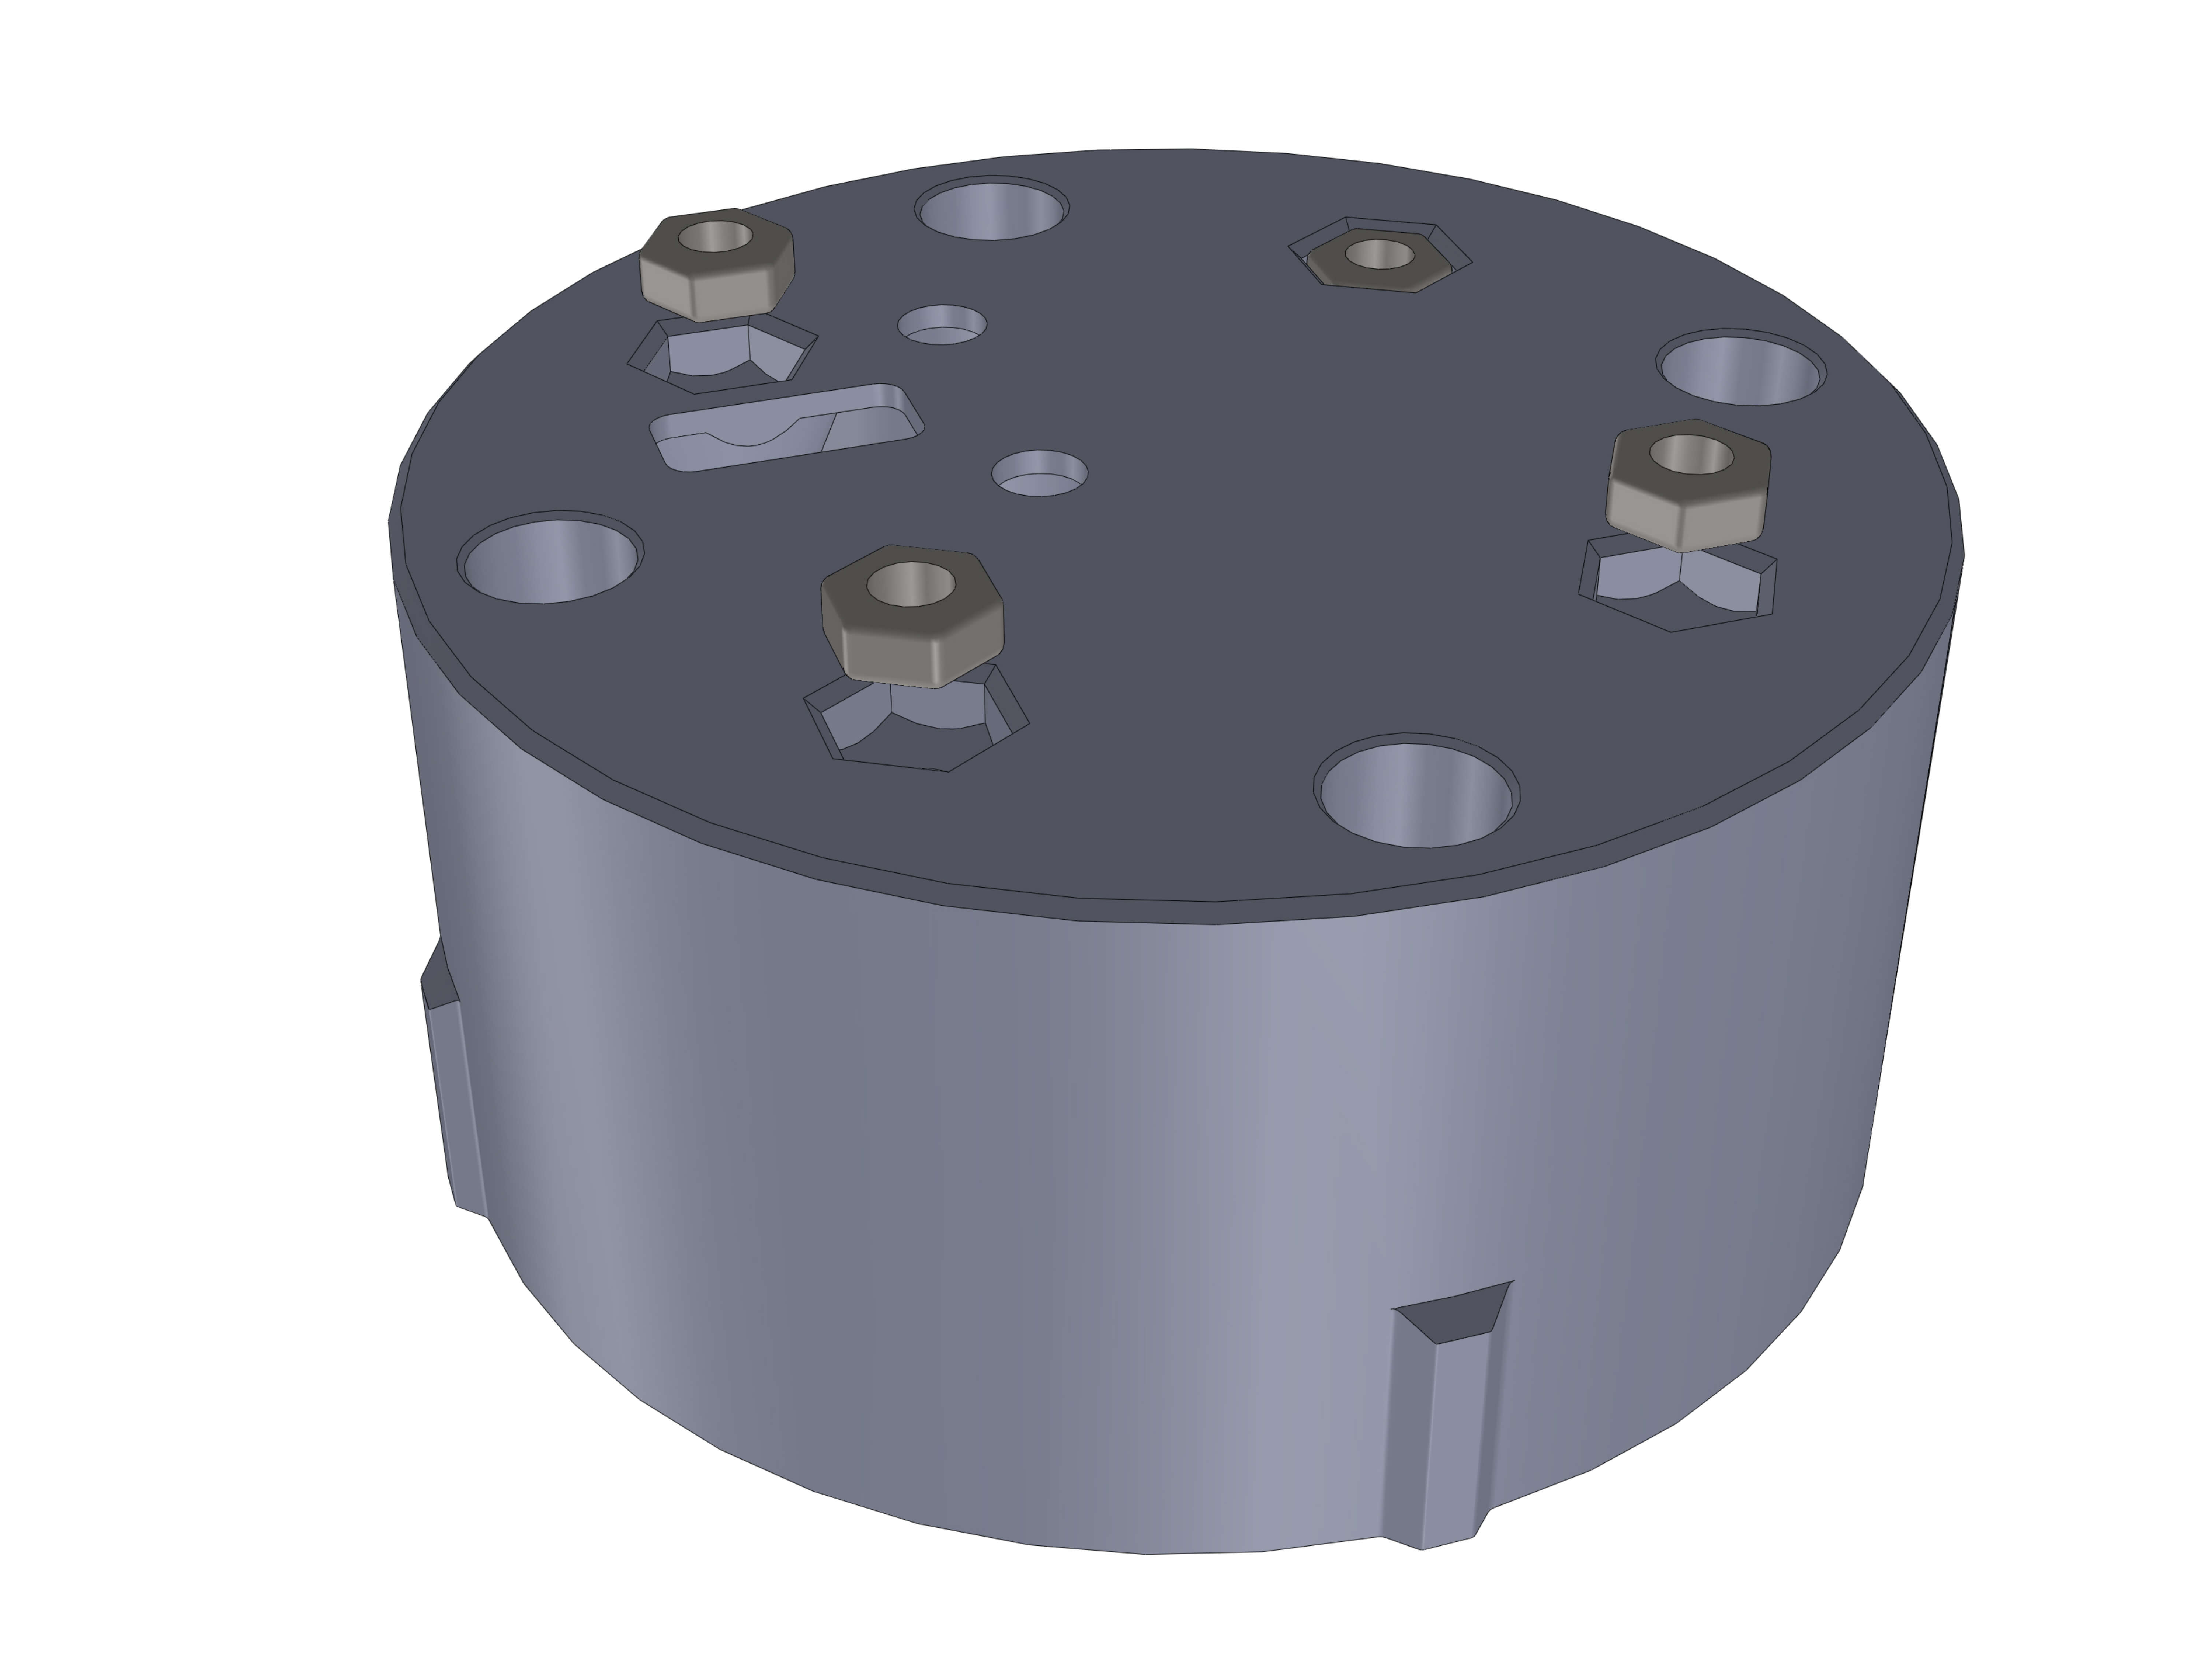
Insert 4 nuts into the camera holder. If you have gotten the screw set or the printed parts from the shop, this will be black M2.5 nuts. Otherwise these are normal M3 nuts.
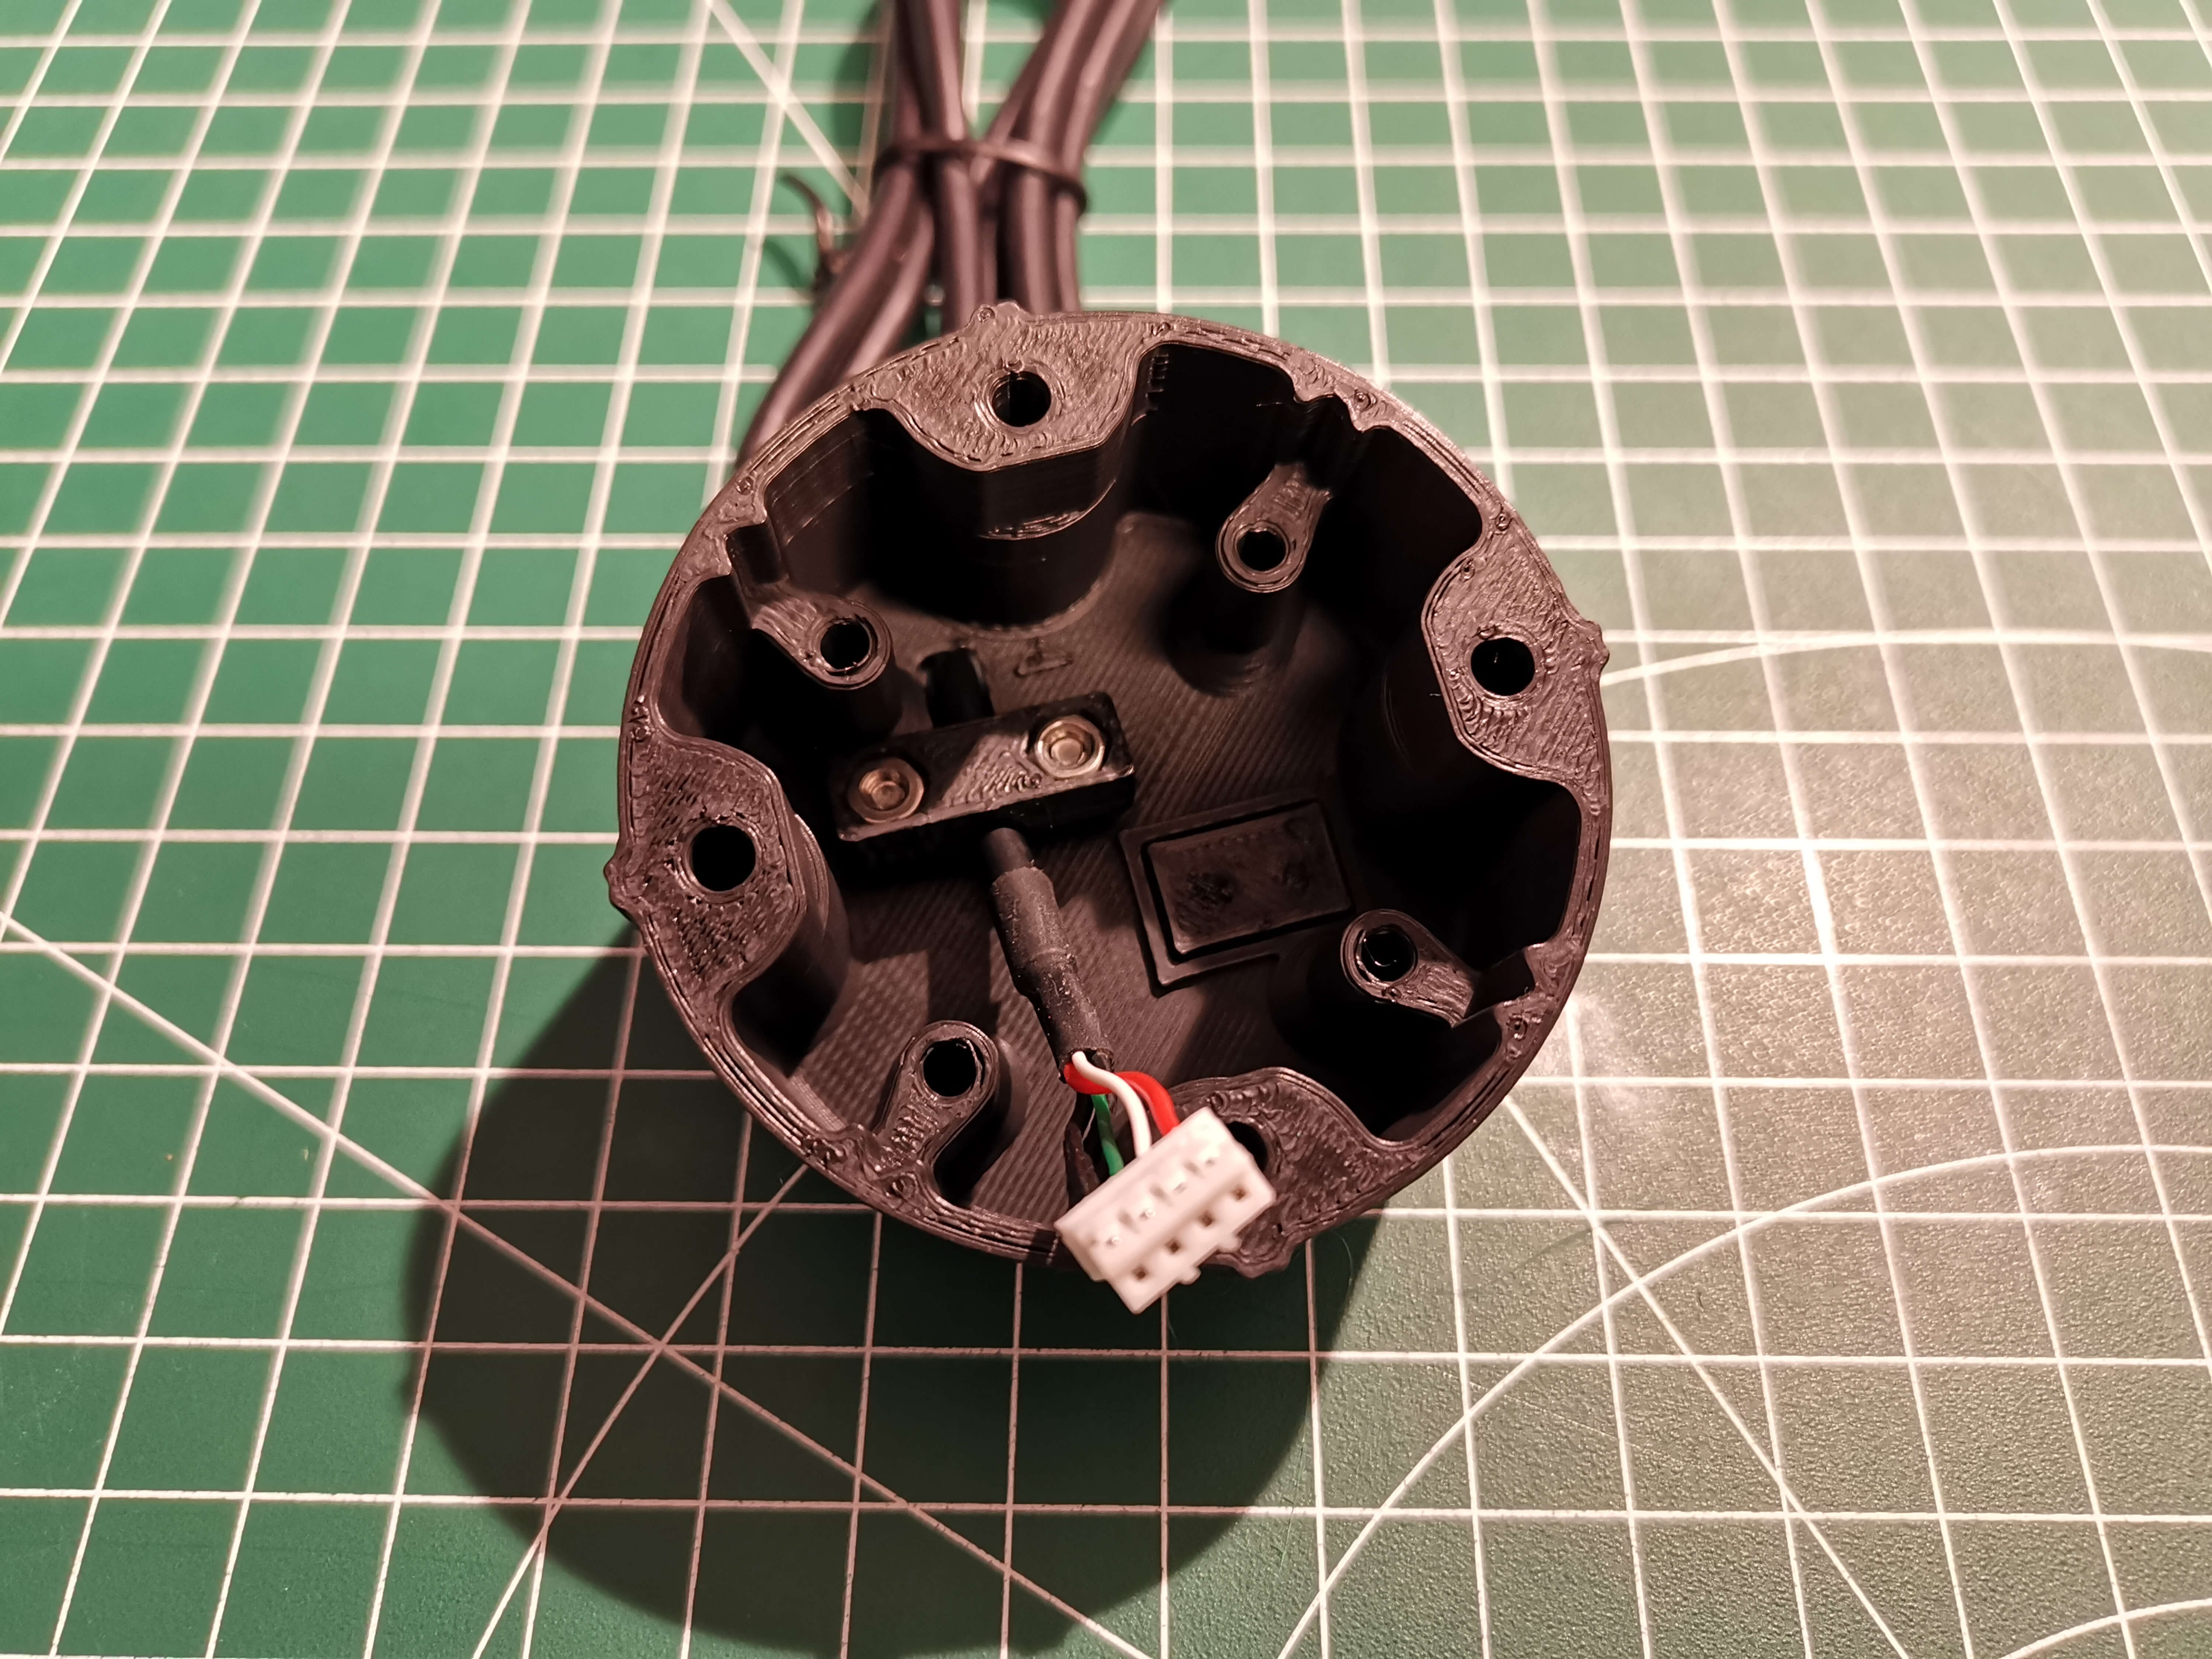
TBD photo of IMX cable + strain relief
Insert 2 M3 nuts into the strain relief. Insert the IMX USB Cable as shown, with the connectors sprockets facing outwards. Let it stick out a good bit so you can still connect the IMX.
Attach the strain relief and lightly tighten it with 2 M3x8mm screws. Make sure you can still move the USB cable in or out.
TBD photo of IMX in cameraMount
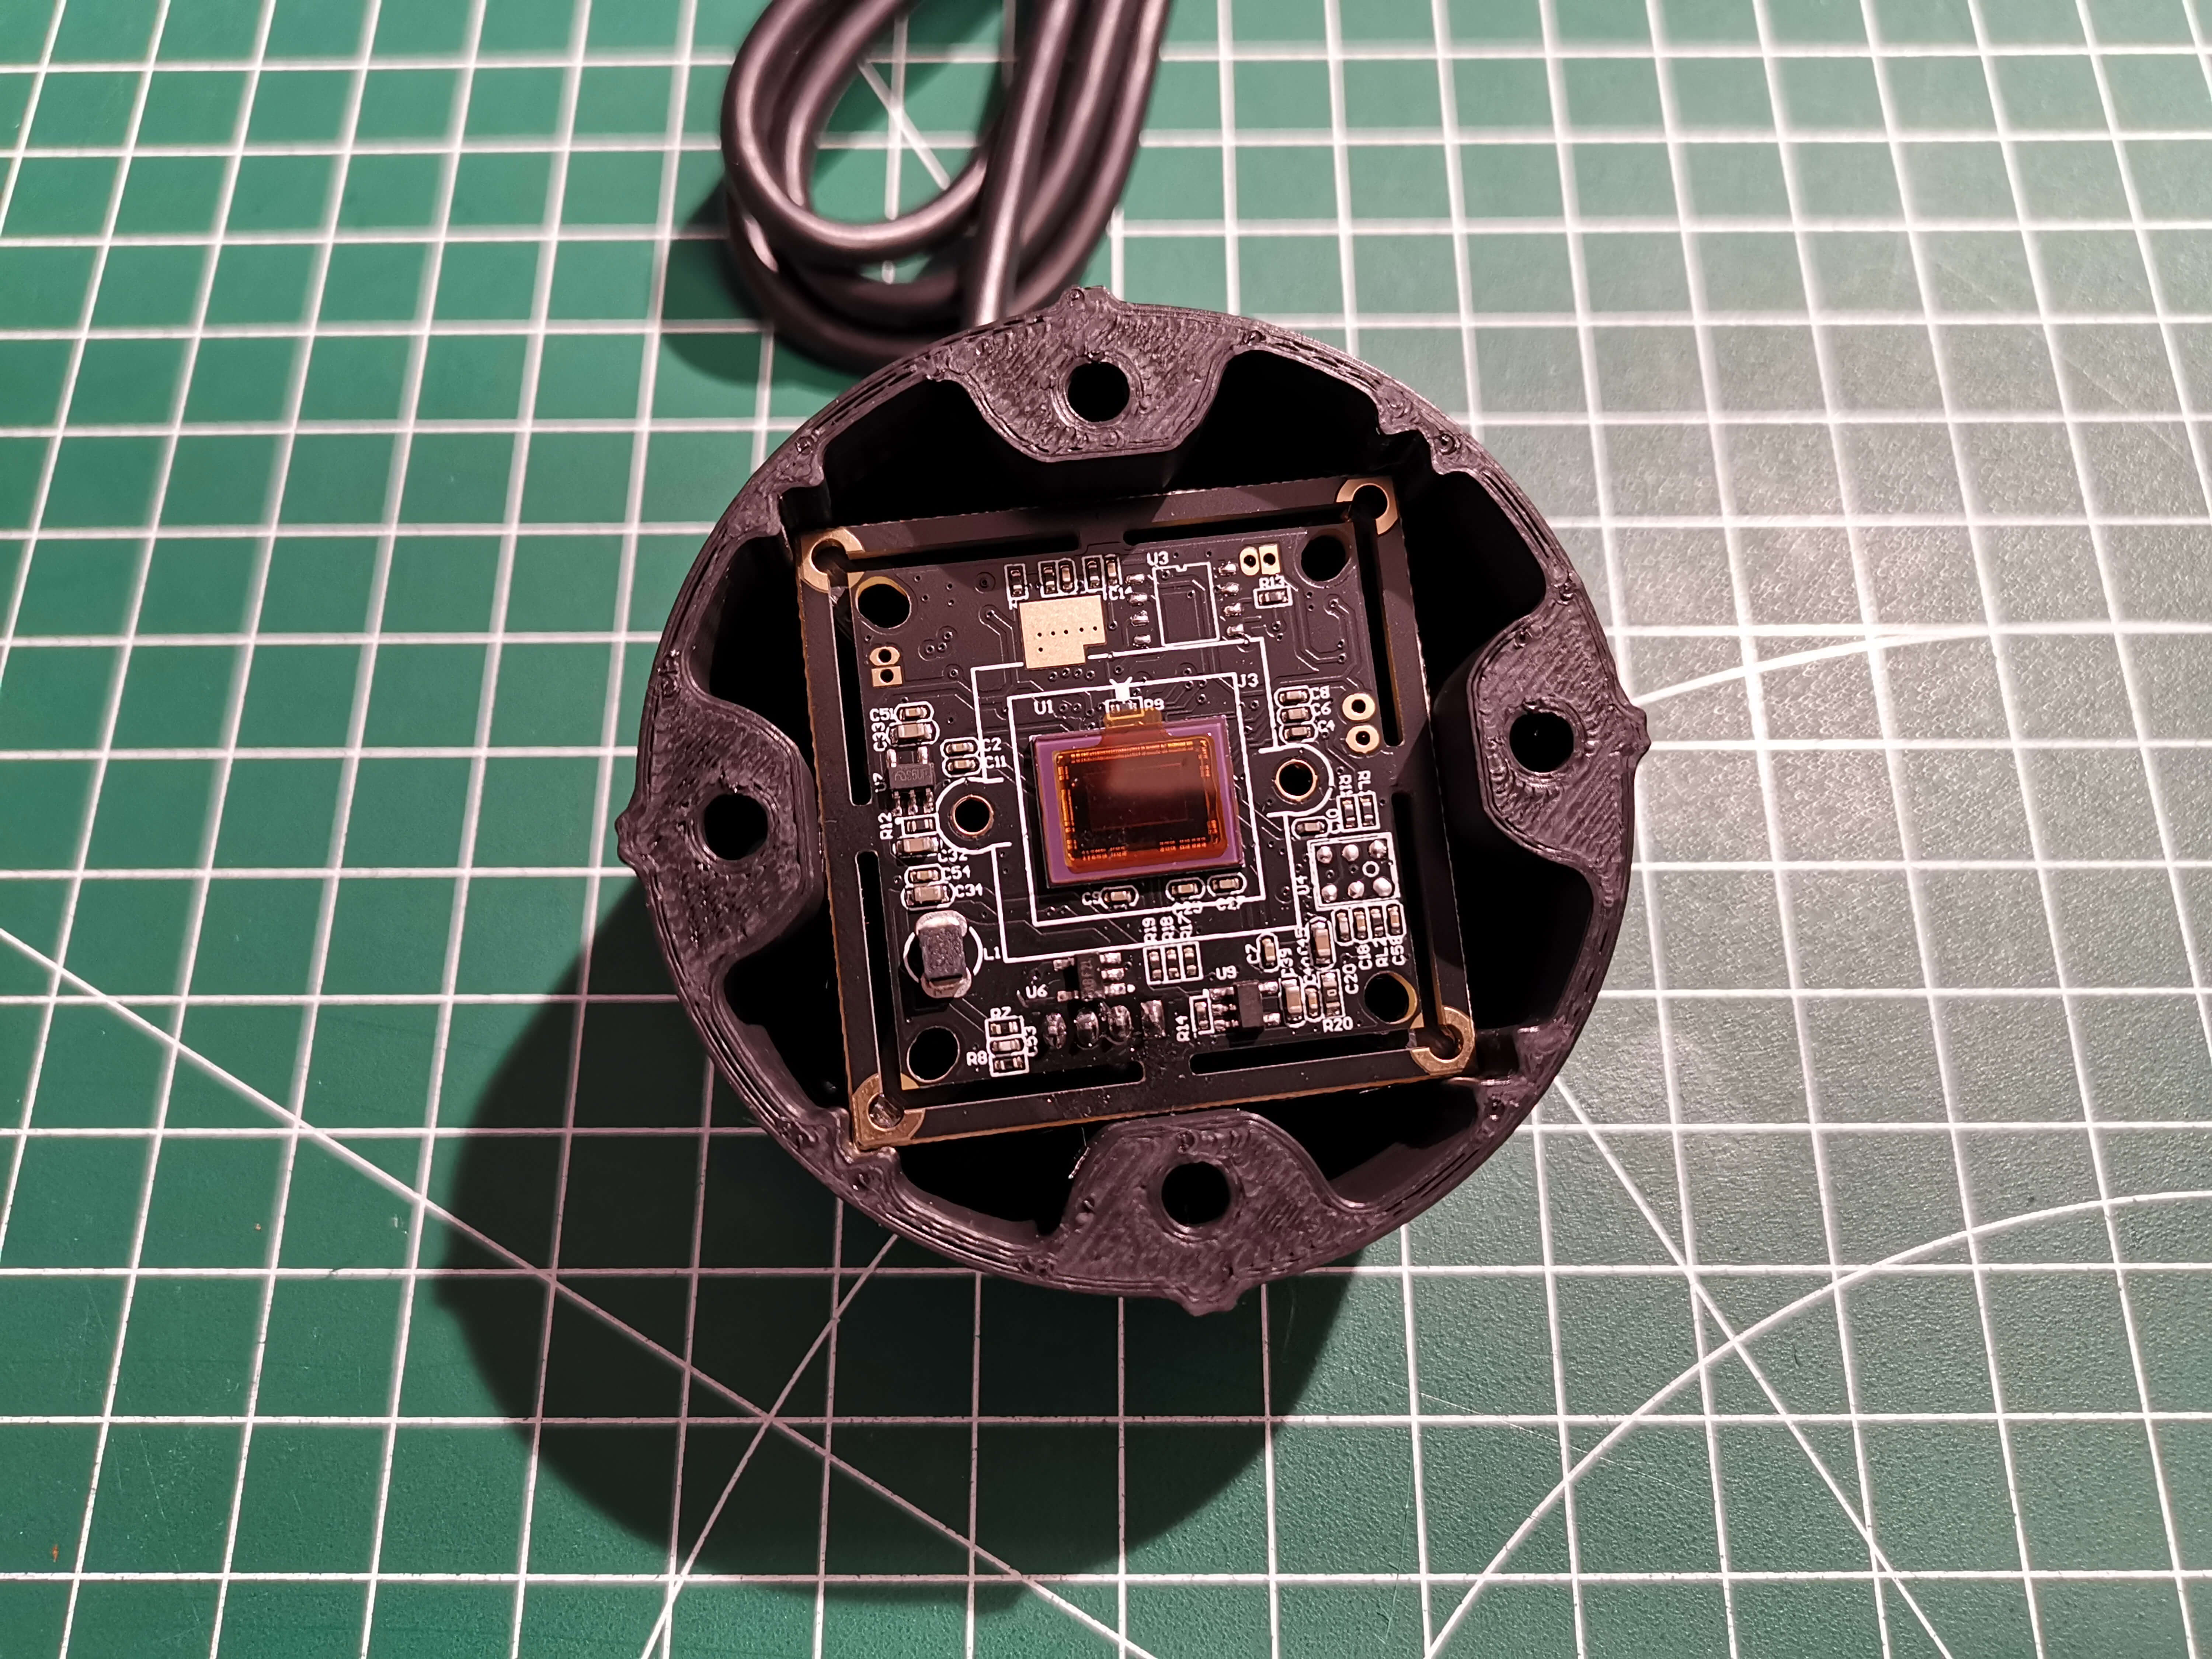
Take the IMX board and connect the USB cable to it. Insert the board into the cameraMount. The correct orientation is indicated by a small arrow inside the cameraMount. It should point away from the USB plug's side.
Once connected and correctly orientated, insert the board into the mount. You might have to lightly pull on the USB cable so it's not in the way.
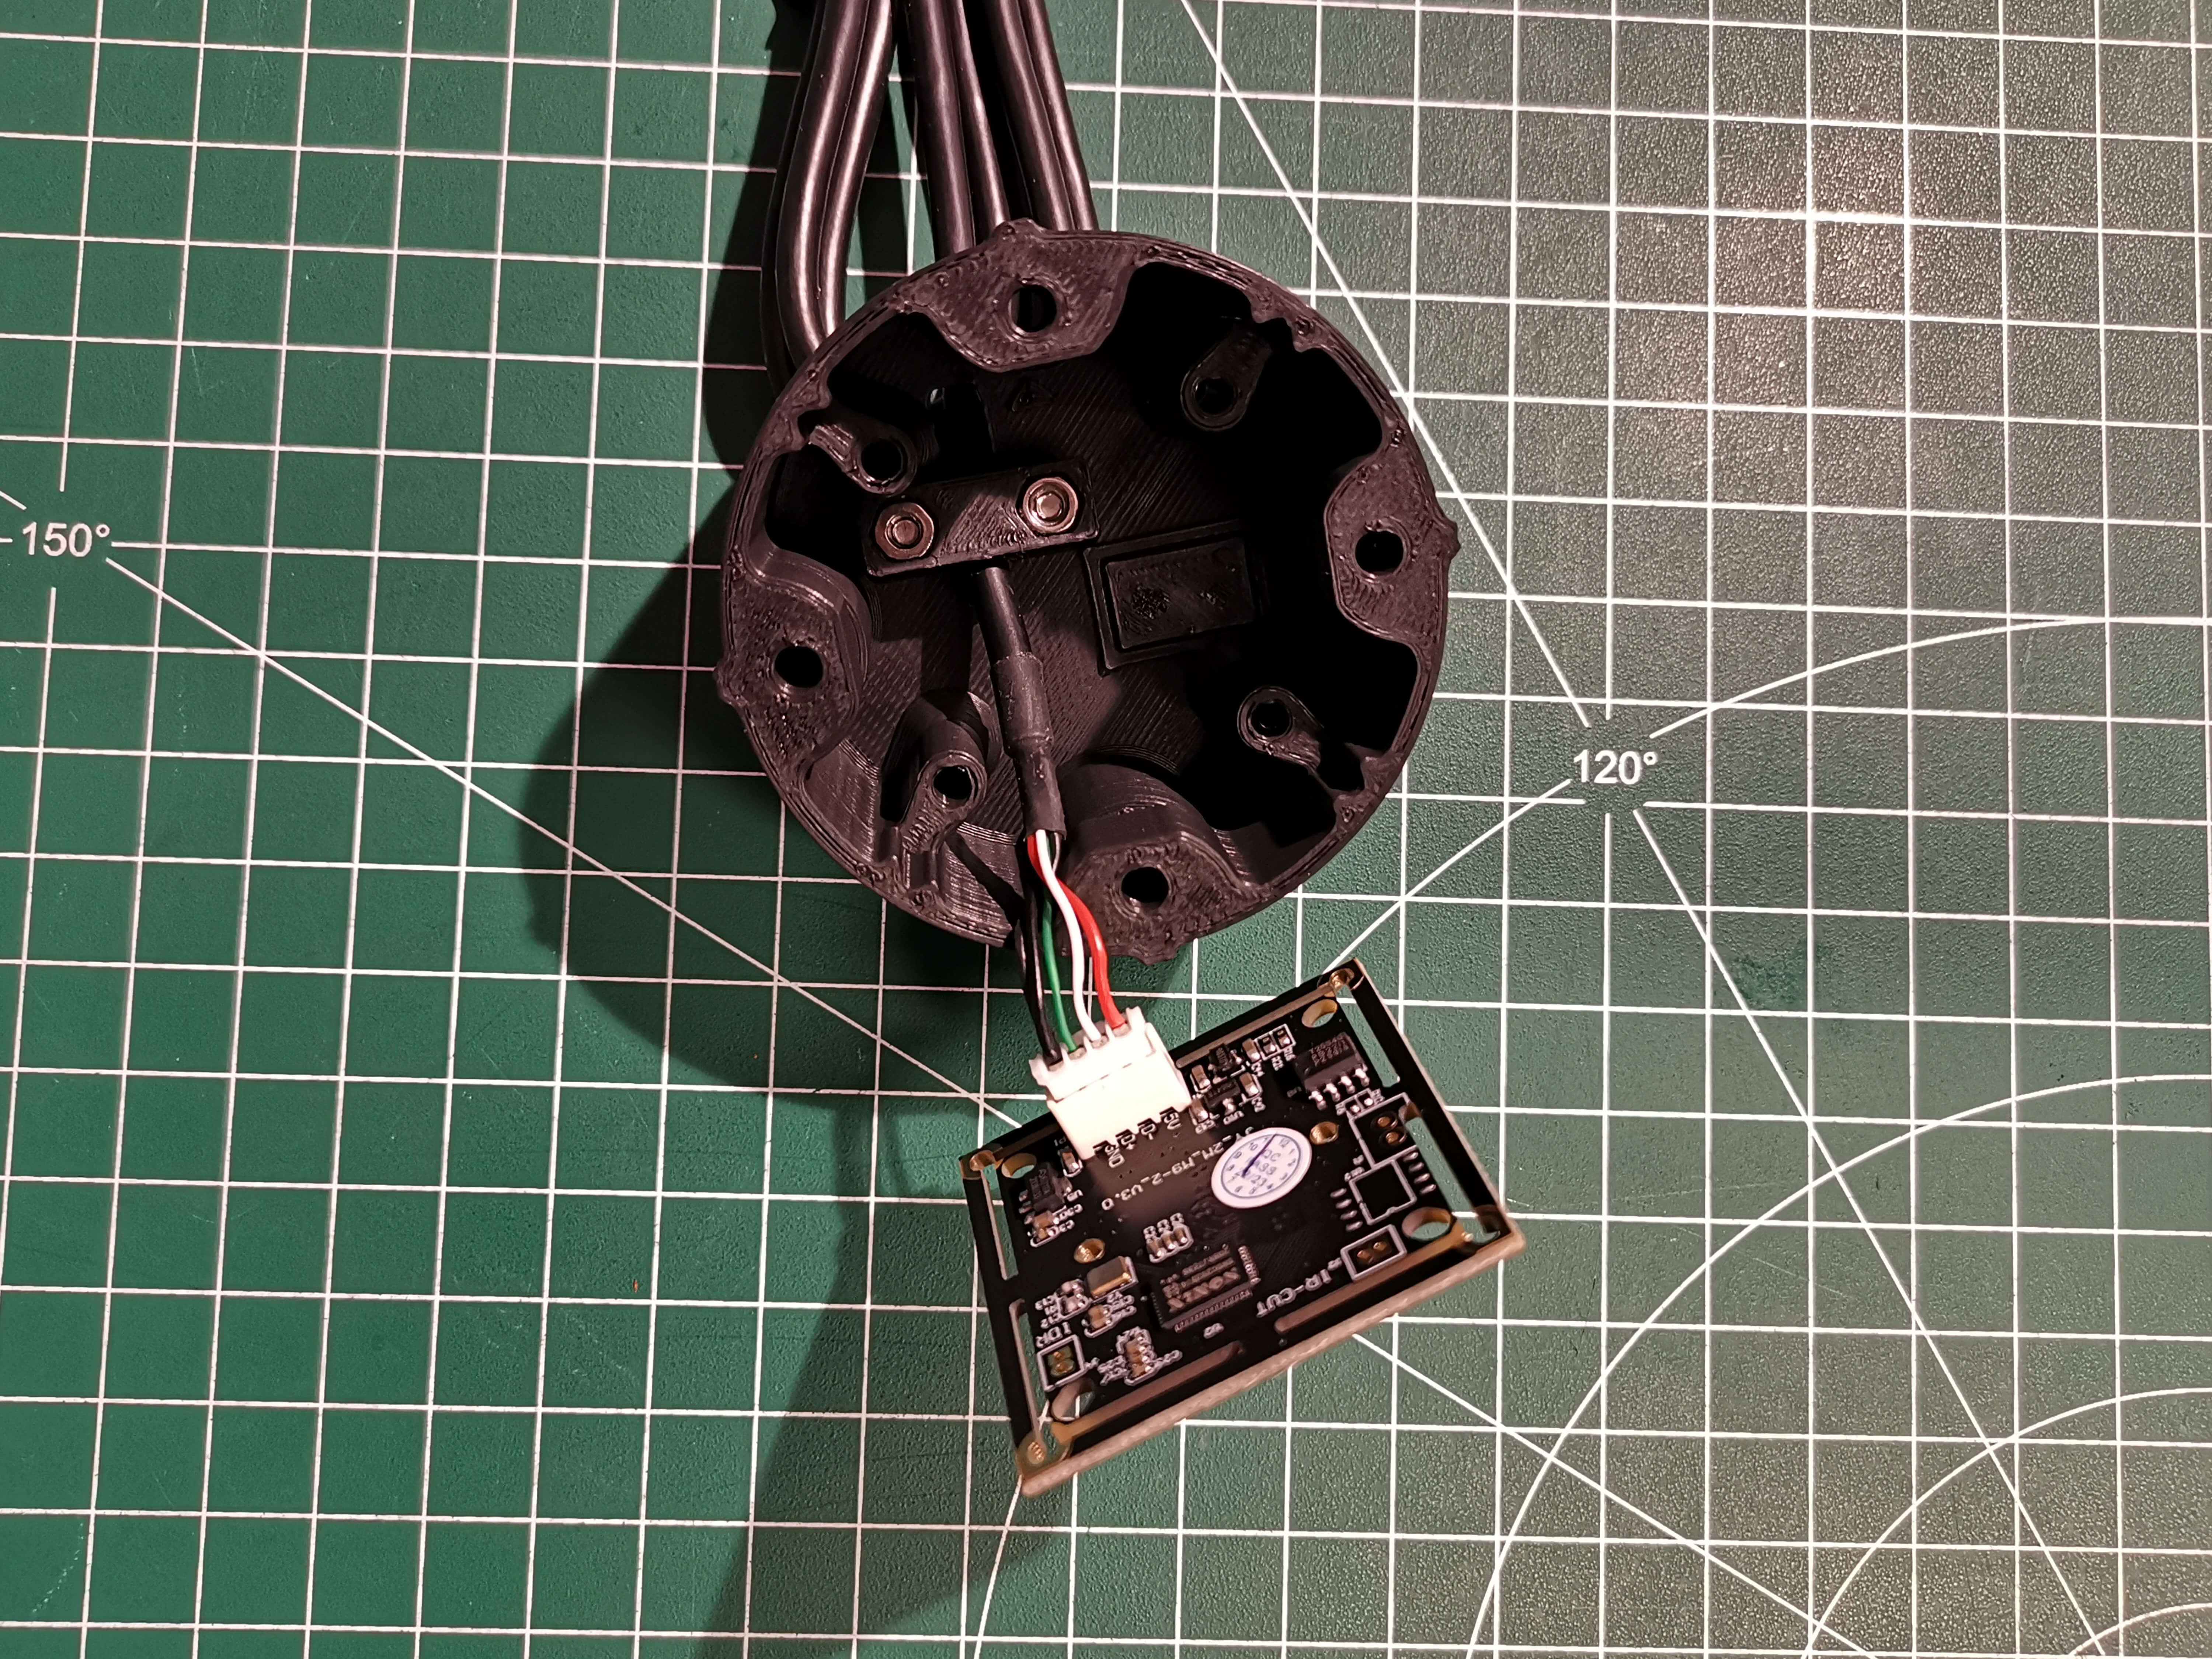
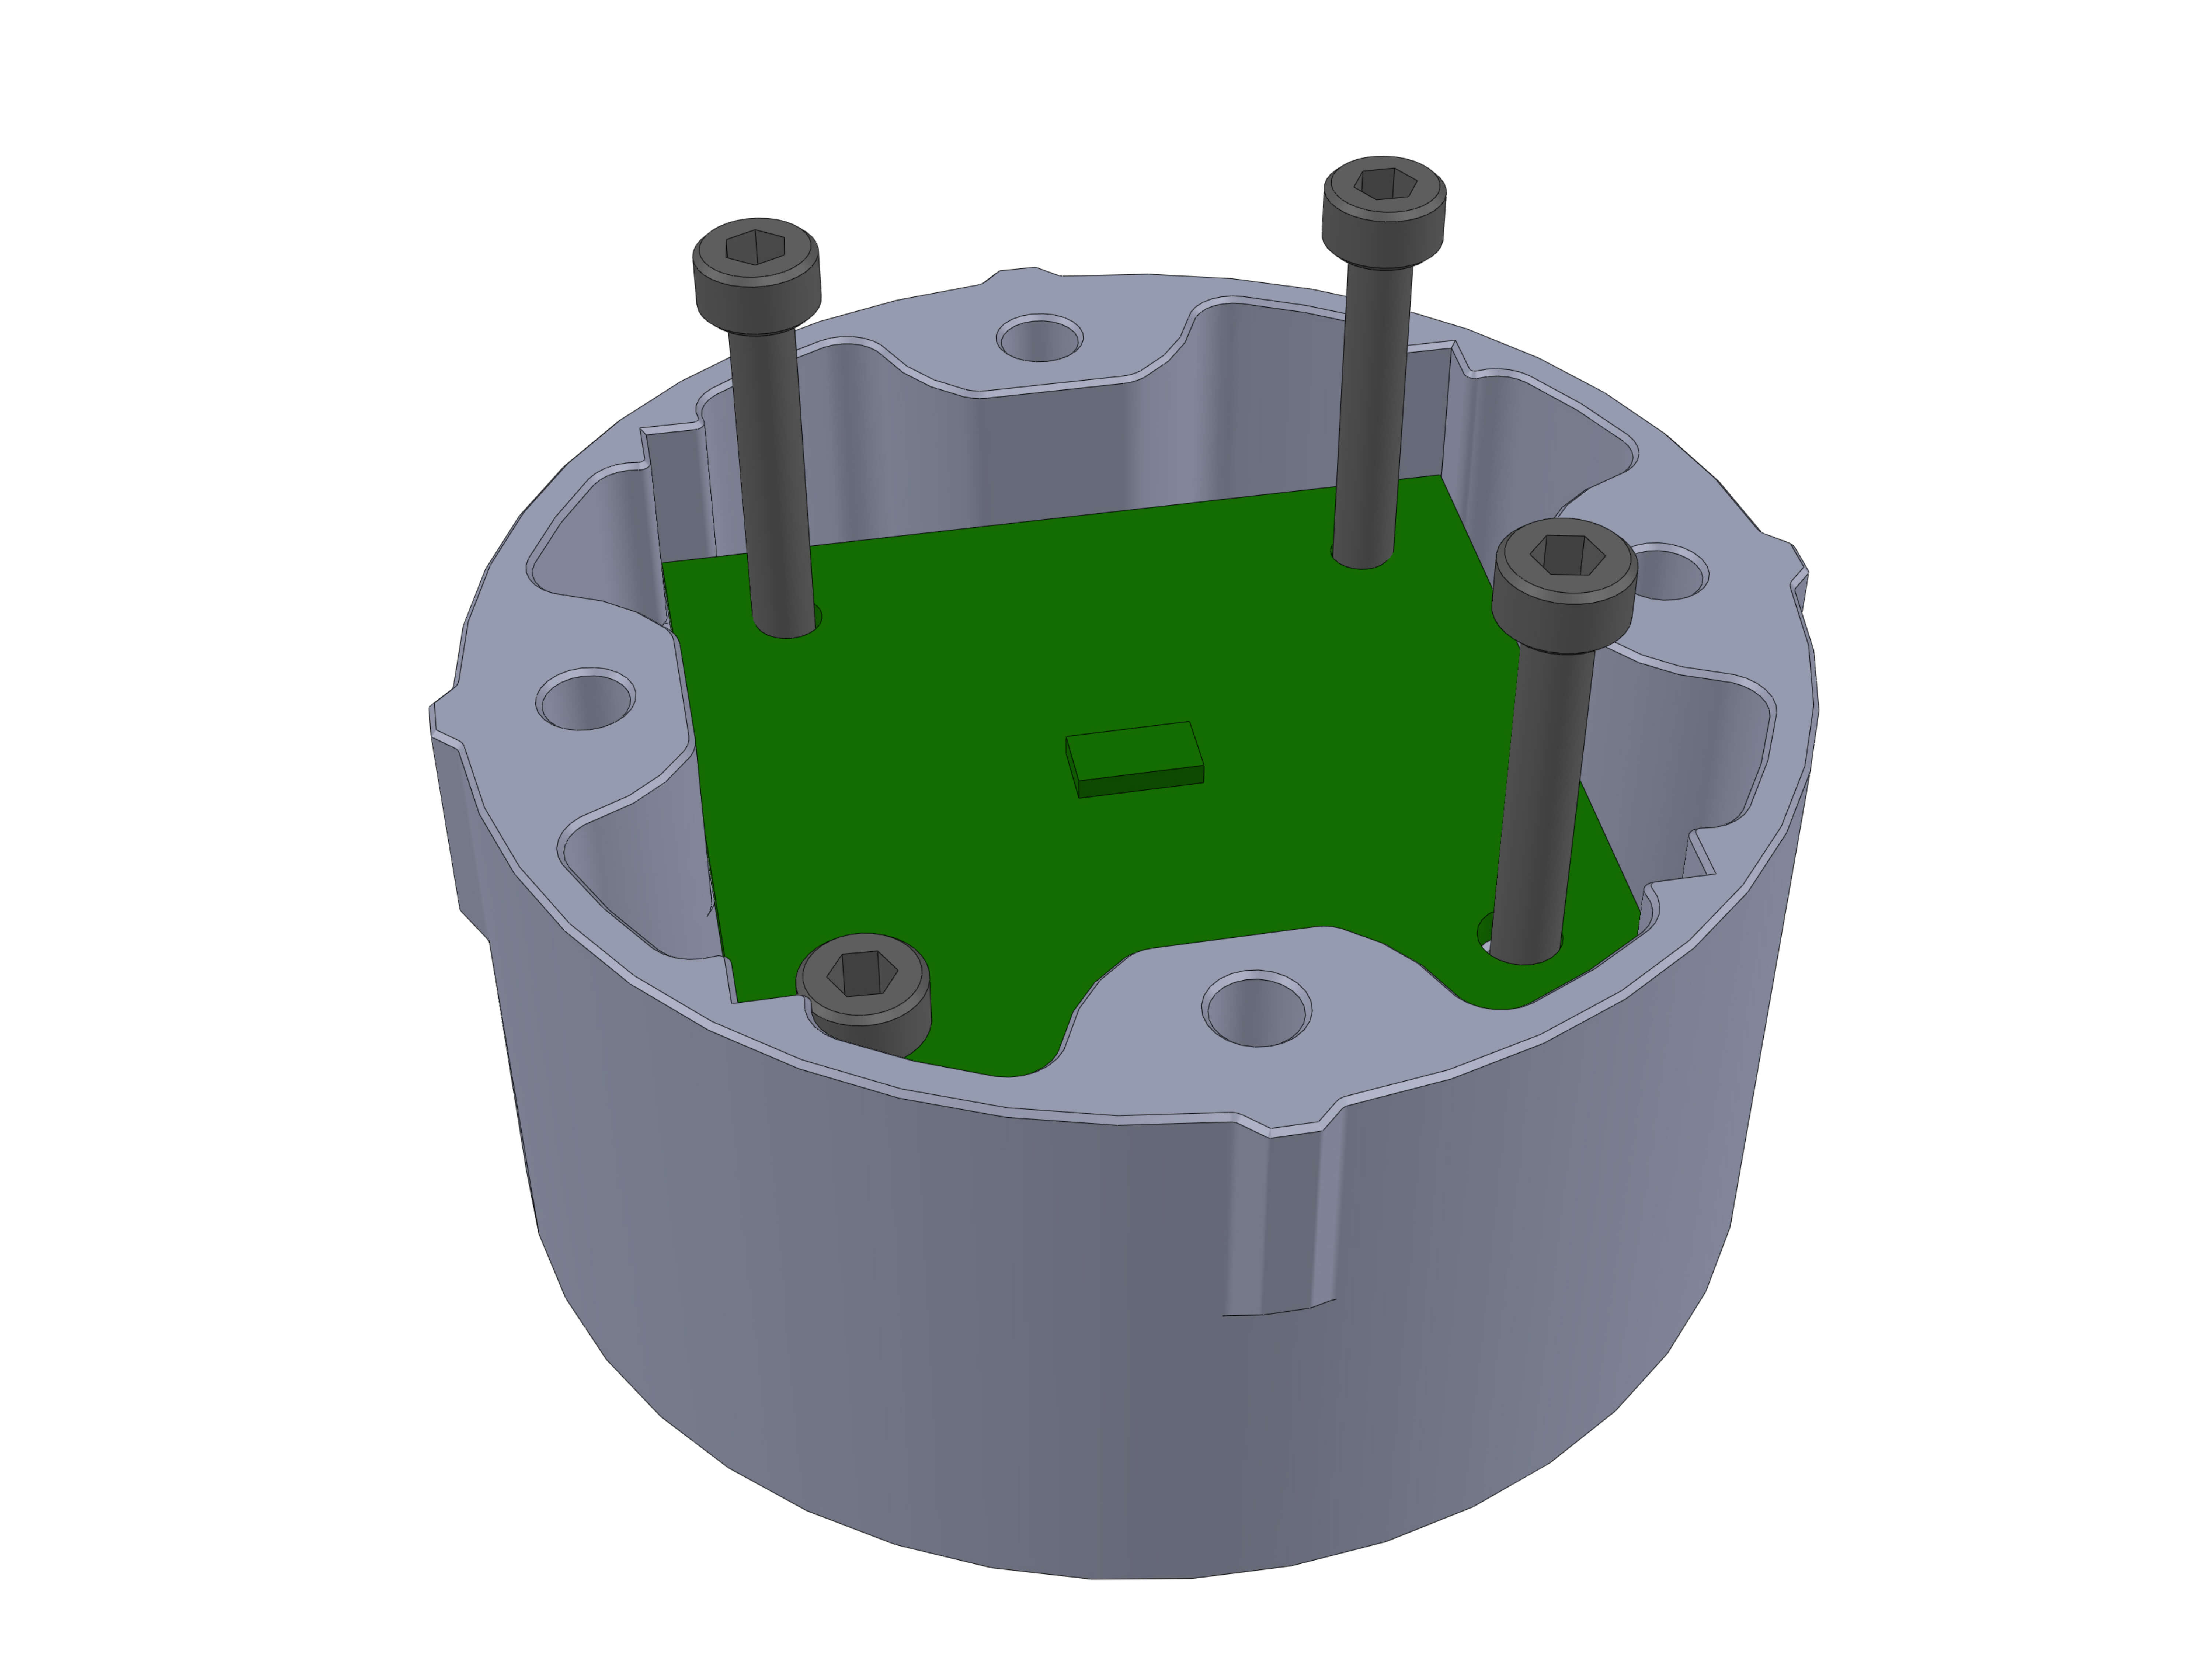
Depending on which screws you are using, take 4 M2.5 or M3x20 and attach the board with them as shown. These don't have to be super tight.
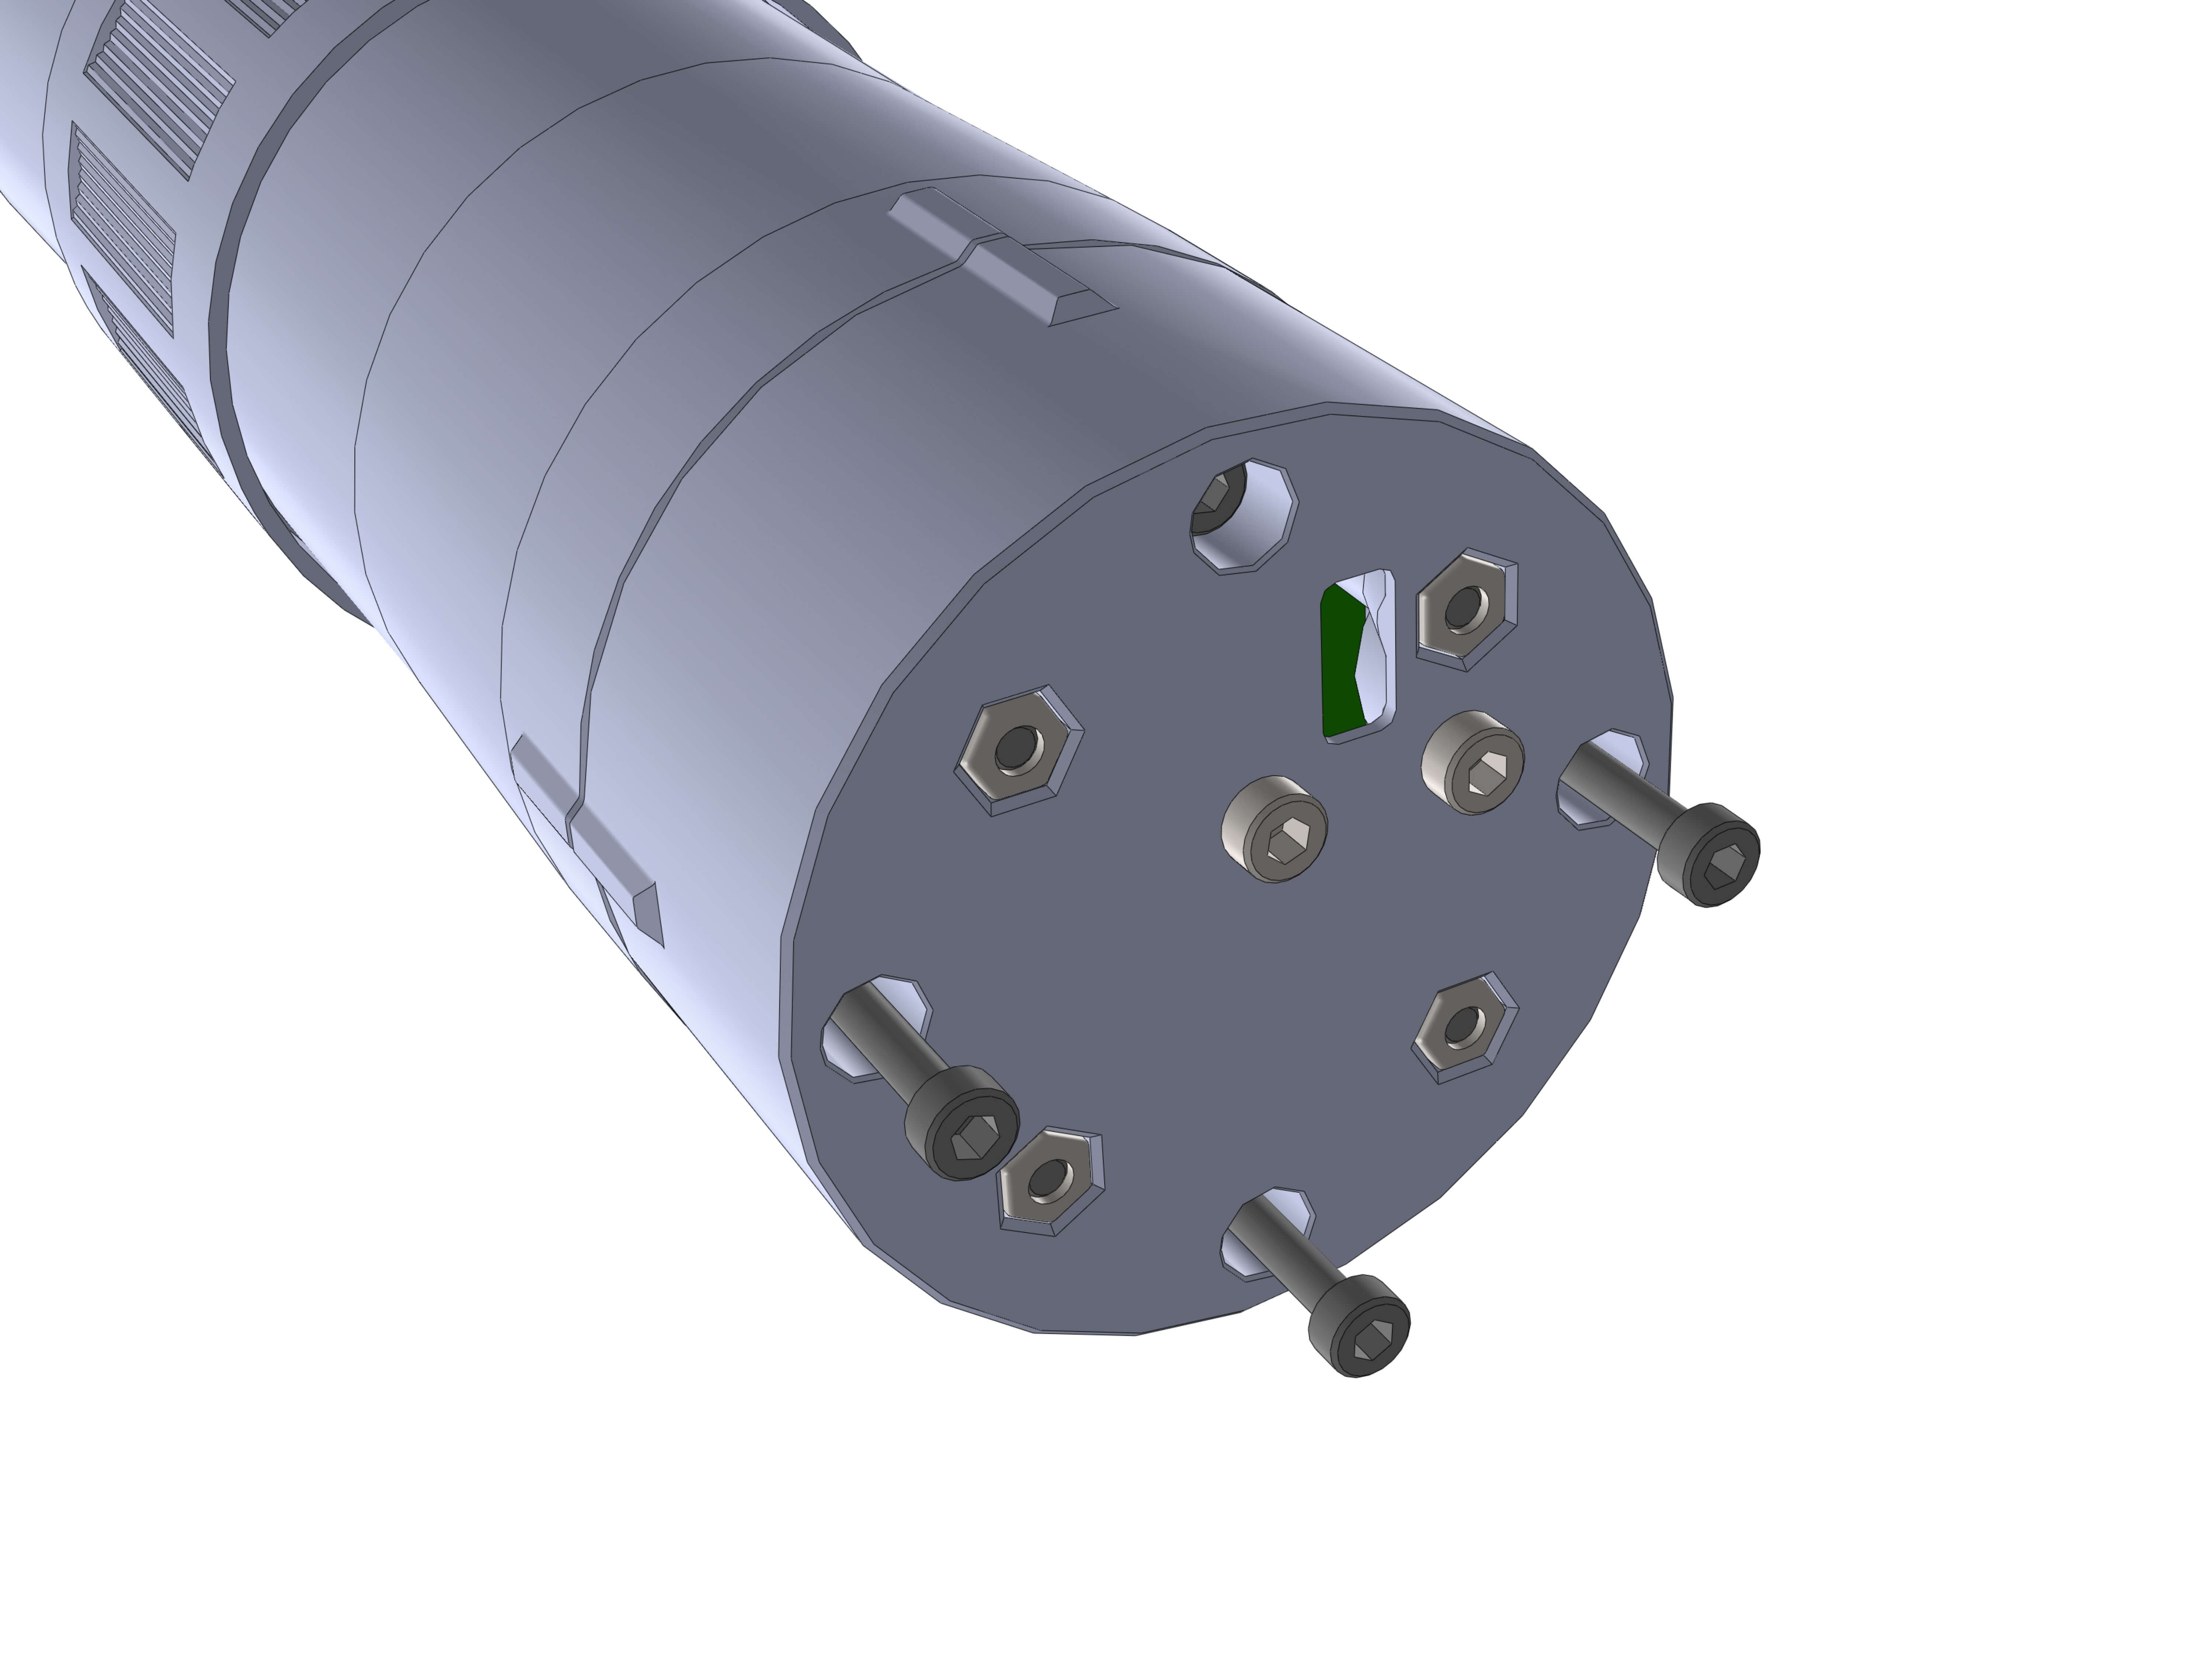
If you haven't already, now is a good time to remove the little protective film from the sensor.
Take the cameraMount assembly and attach it to the rest of the Guider with 4 M3x20 screws. The orientation doesn't matter. Only make sure the sprockets on scope and cameraMount align and both parts are concentric.
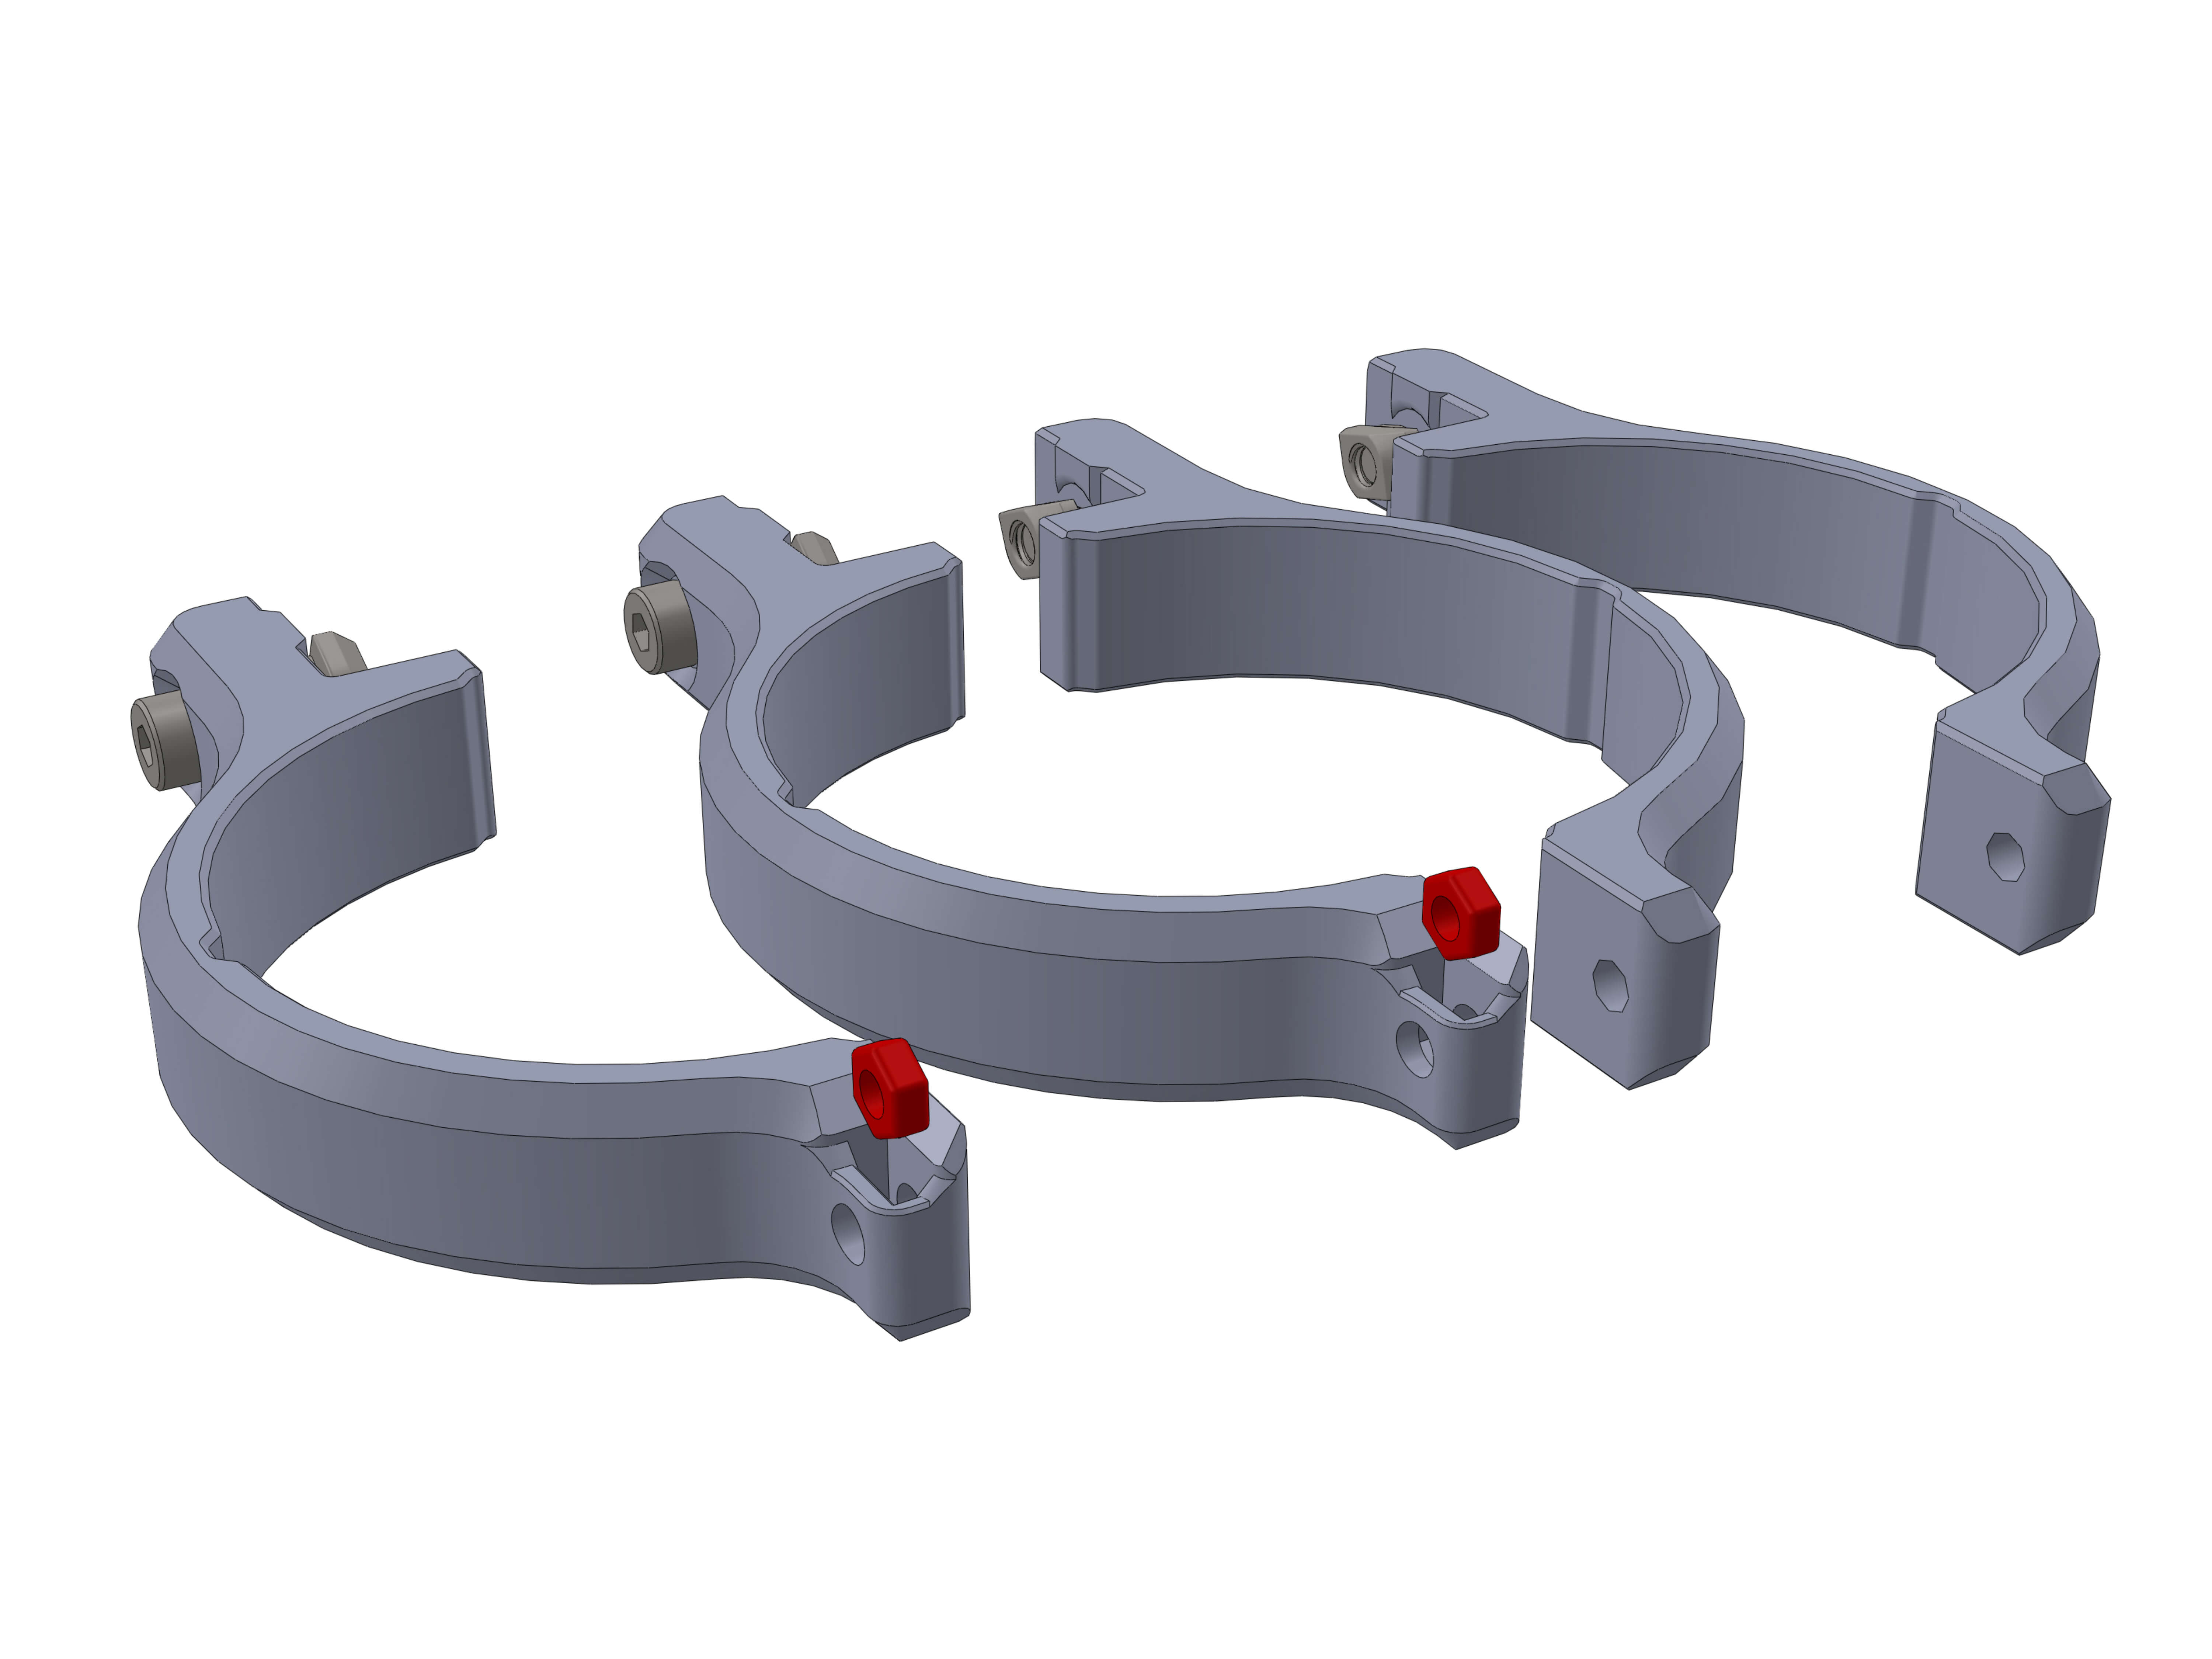
Take the 2 holder_1 and holder_2. On the holder_1, attach M3 nuts into the slots as shown.
Attach M4x12 and TNuts to all four holders.
¶ Vixen Mount
Attach both holder_1 (the ones with the M3 nut) to the end of a 200mm 2020 extrusion.
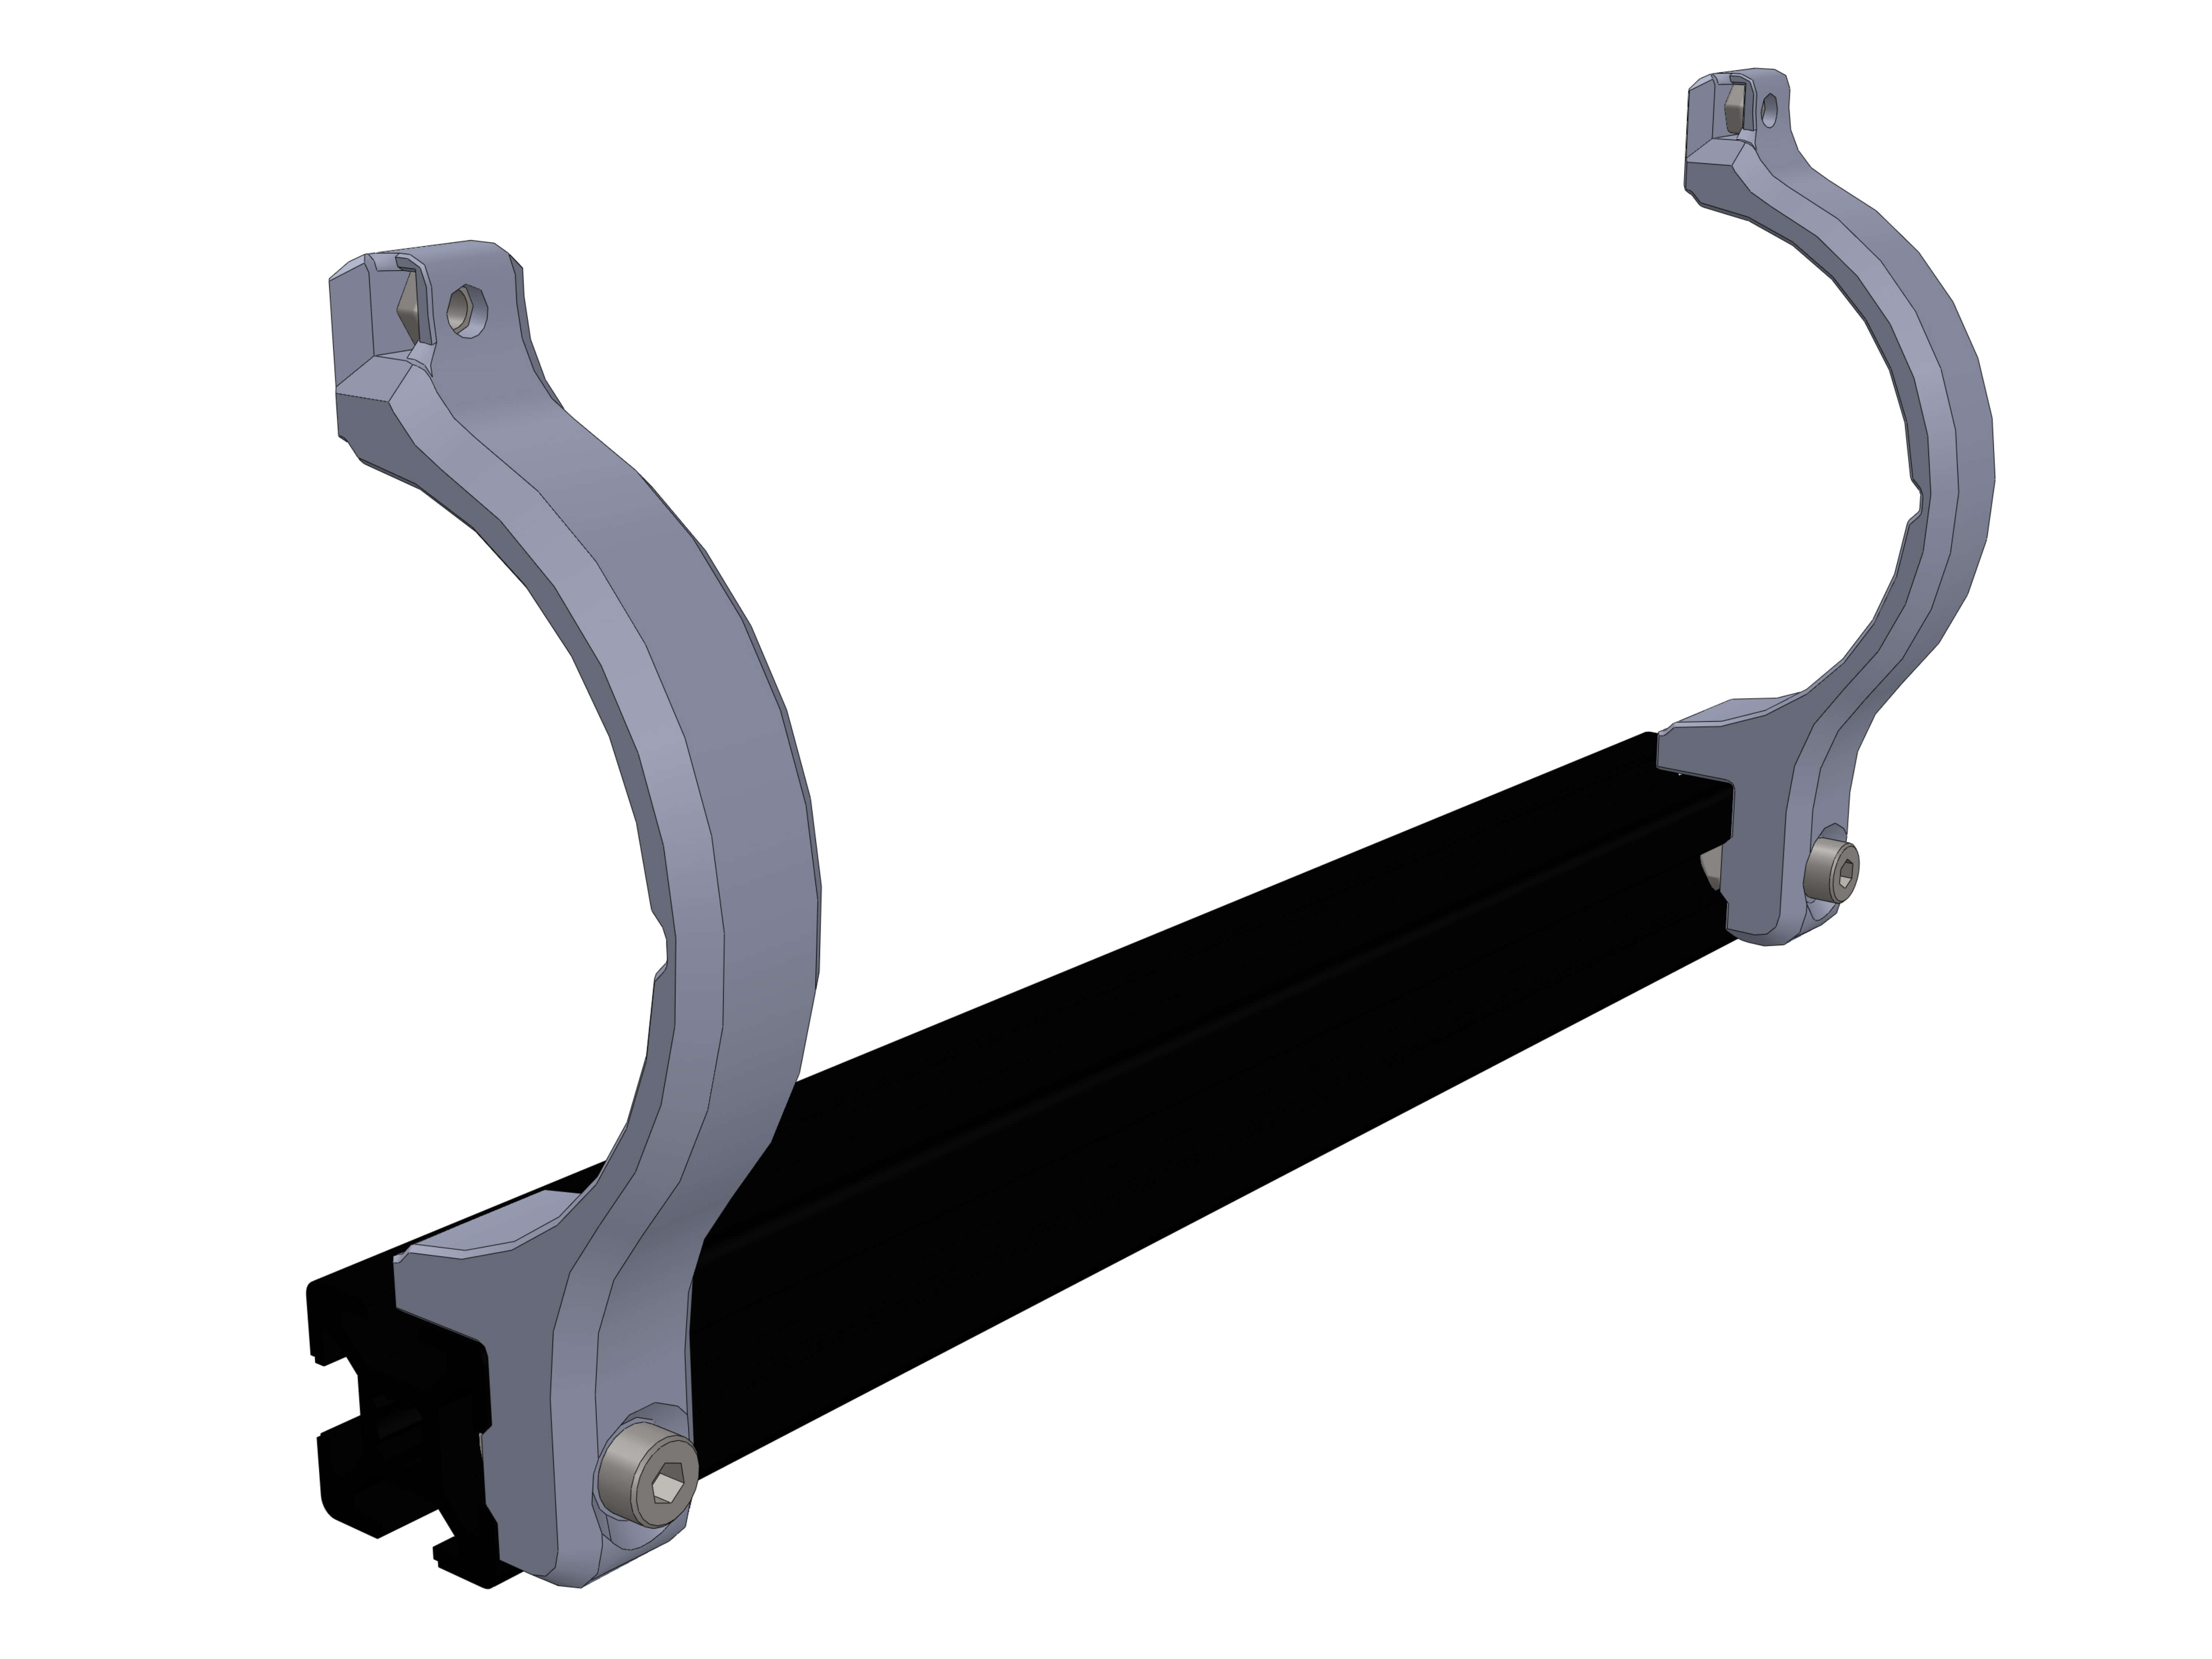
Lay the Guider into the hodlers. Make sure the sprockets lock into the recessed parts of the rear holders.
Also make sure the gap between cameraMount and scope is covered by the rear holder. This is to prevent any light from leaking in.
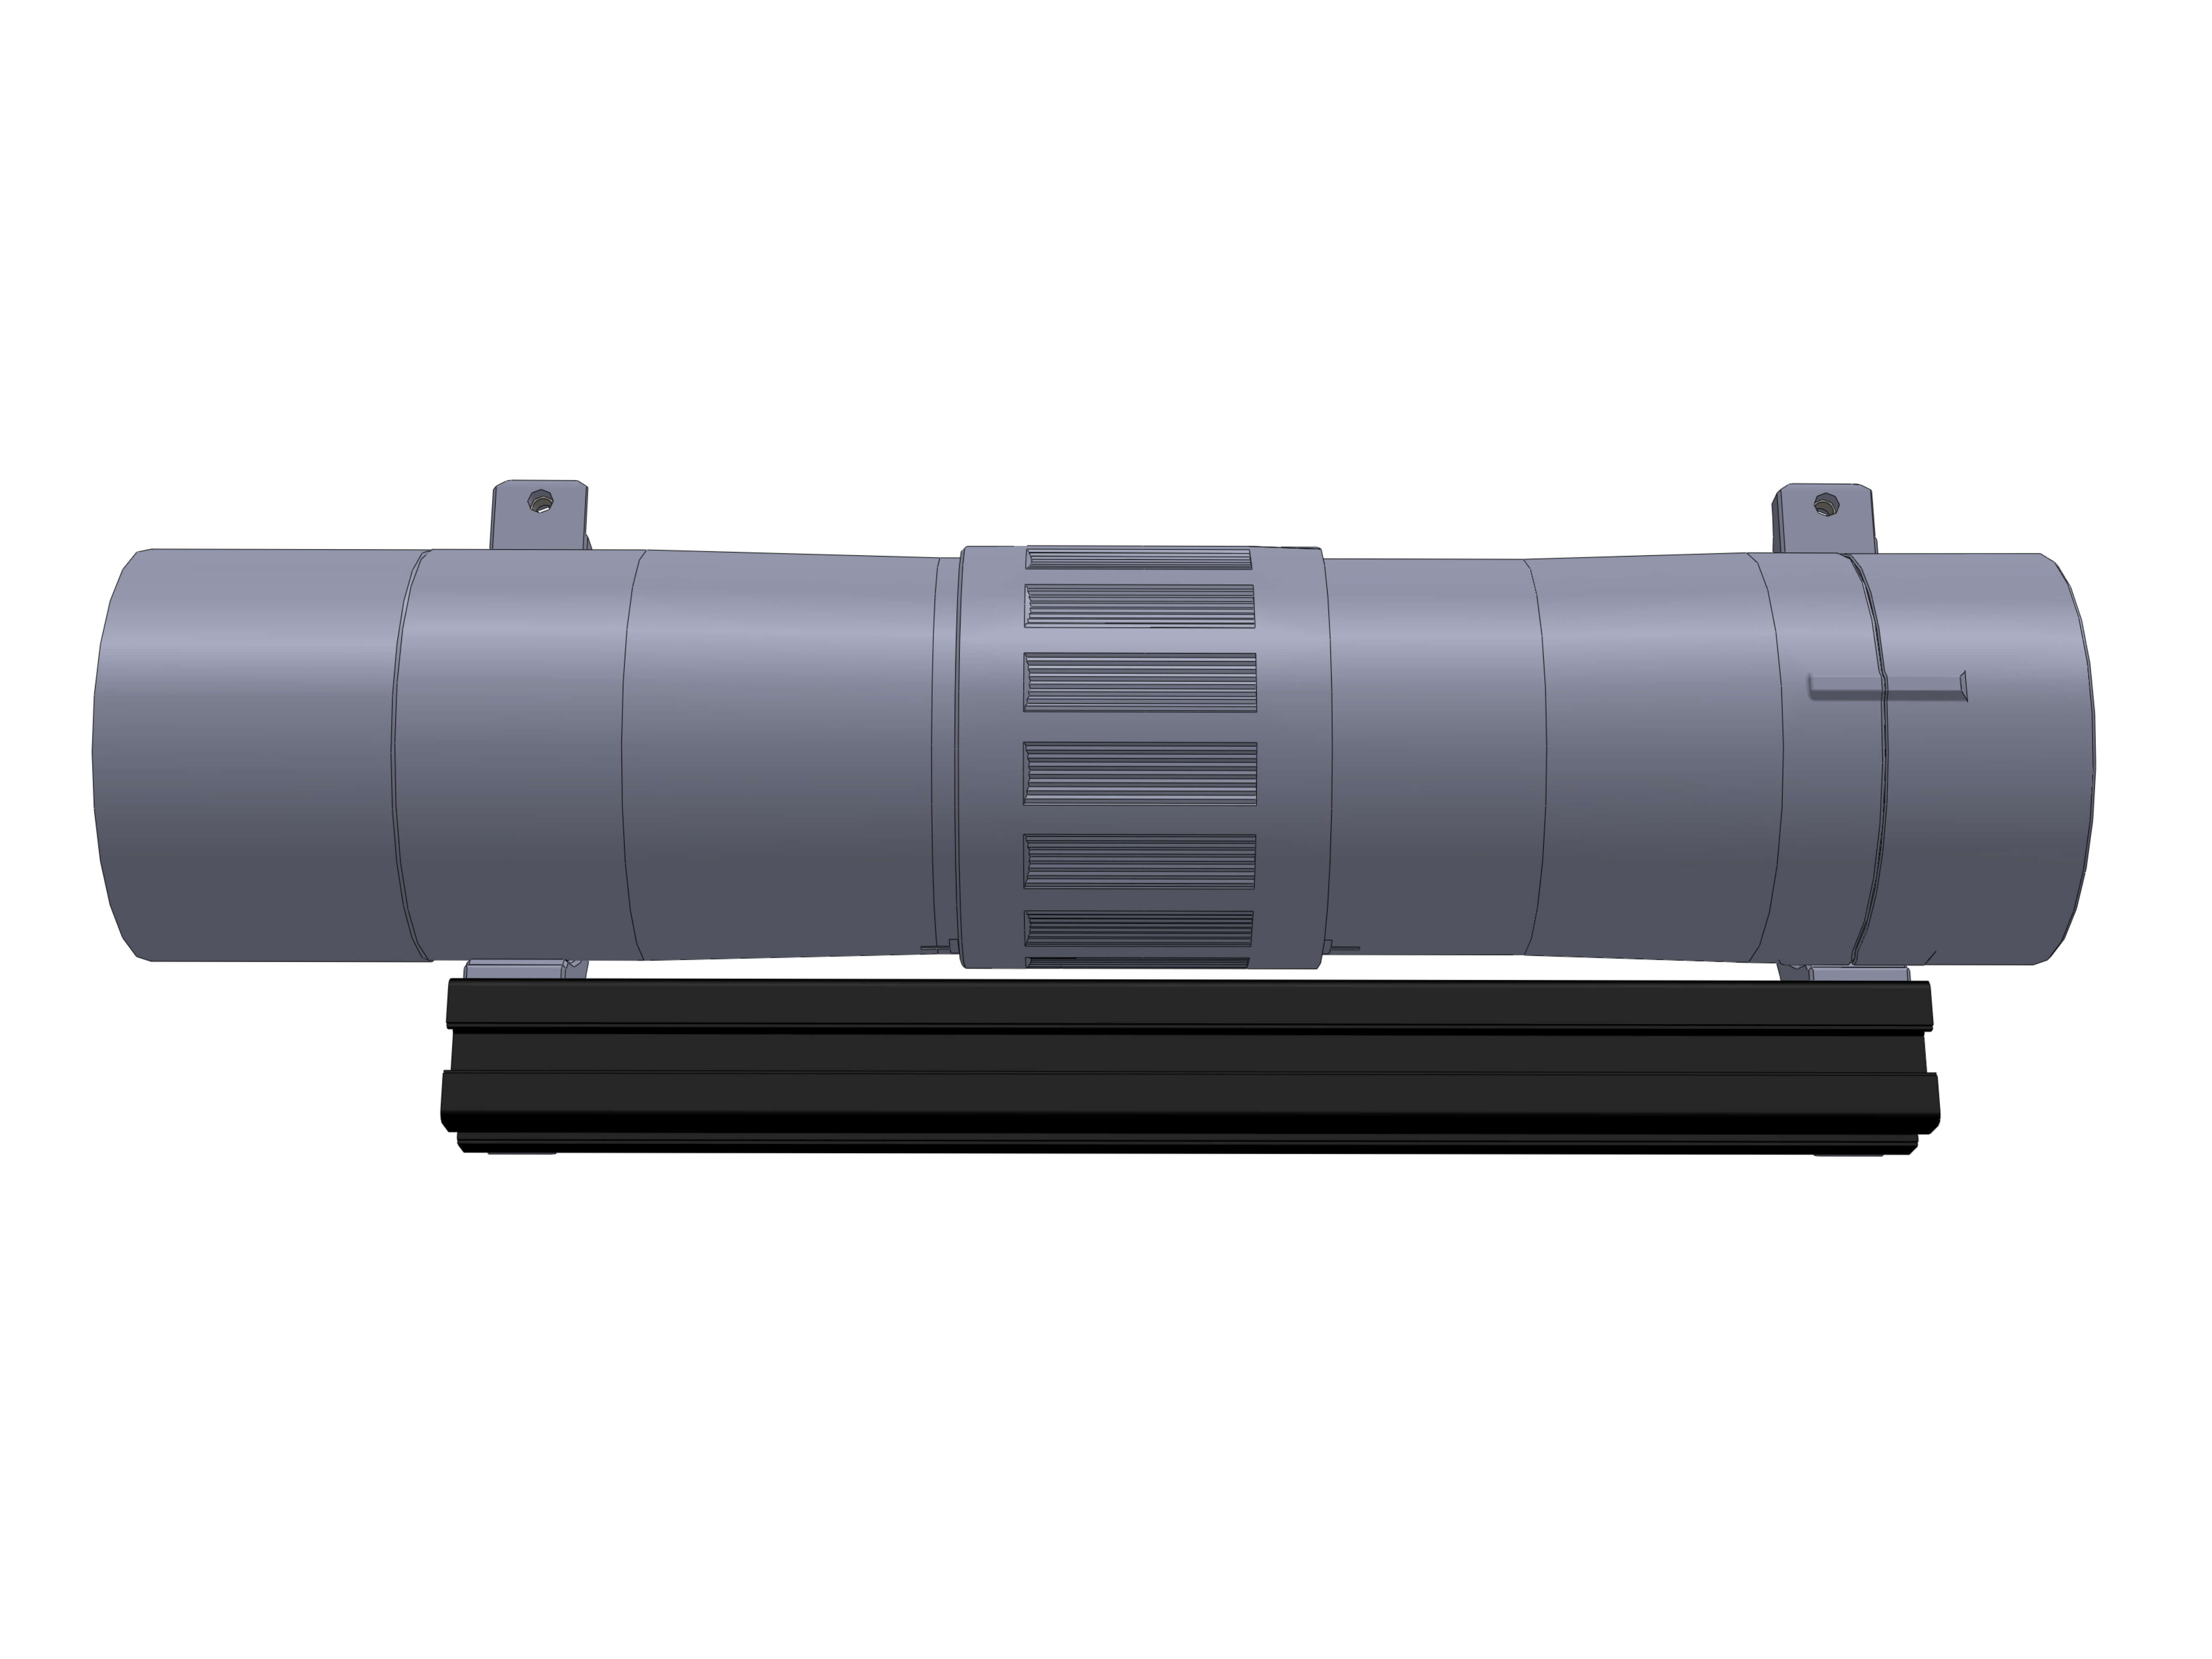
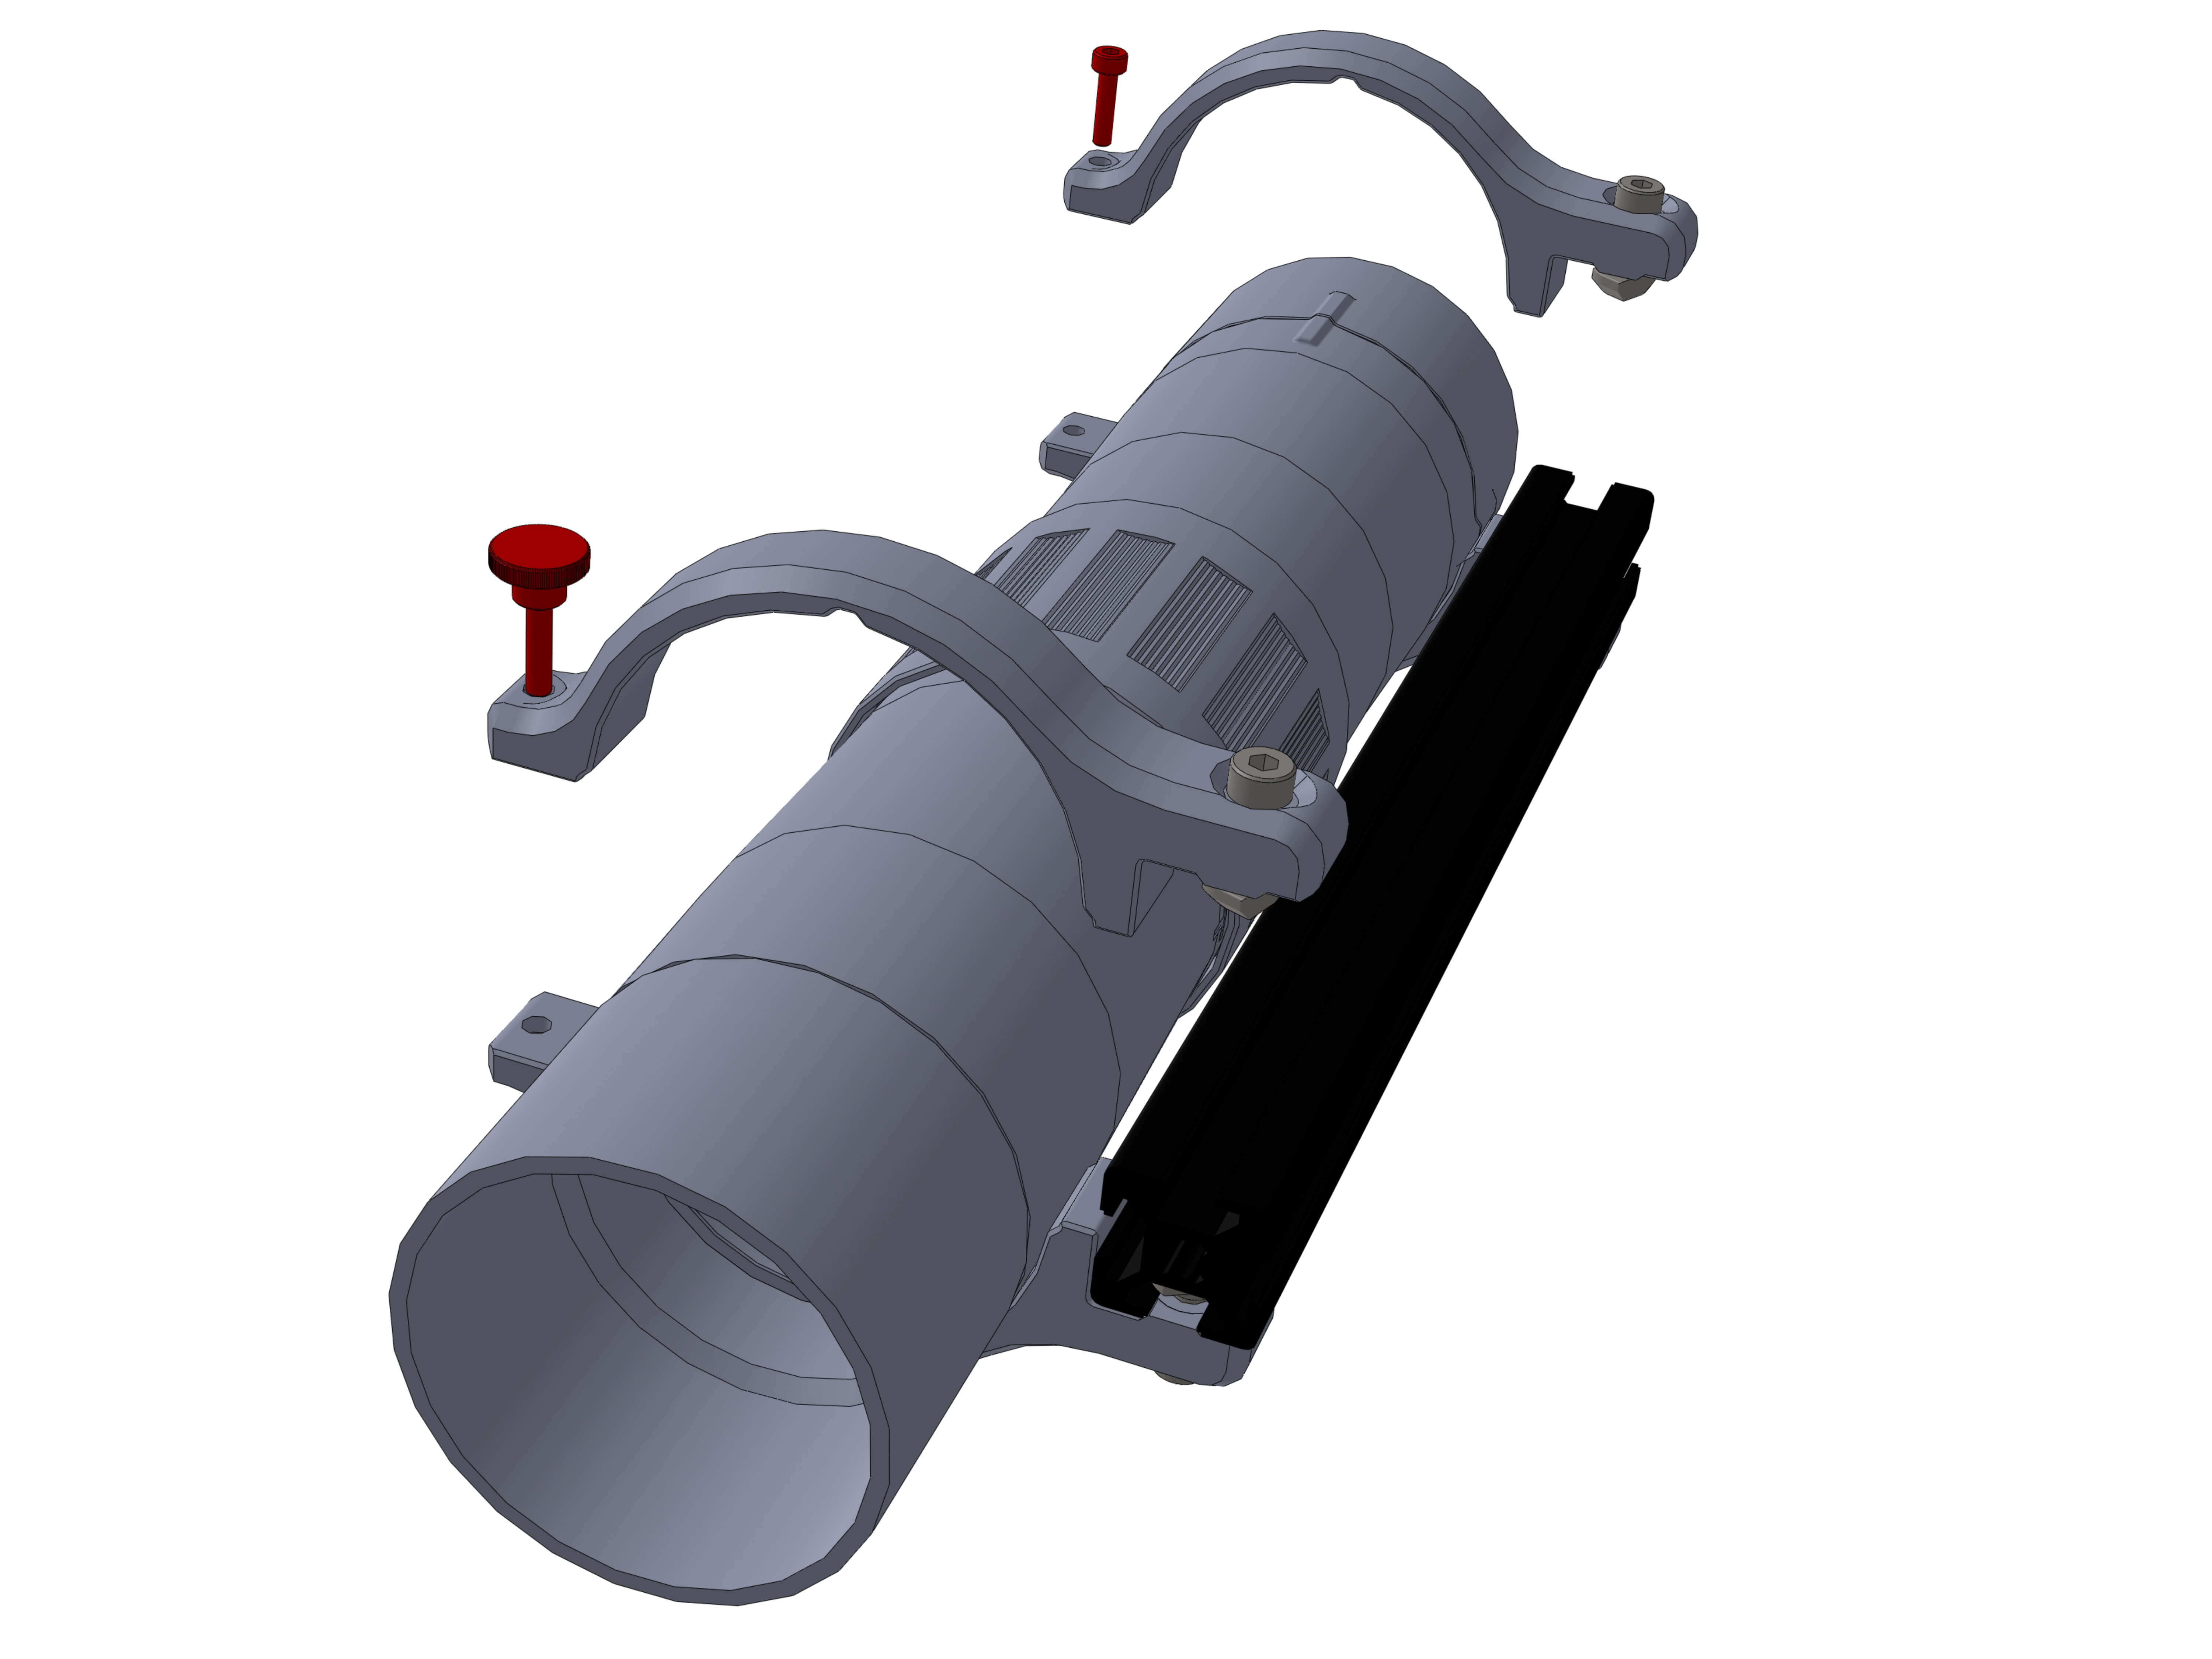
Take the other two holders and attach them as shown. Fasten the M4 screws to the extrusion first, then attach the M3x12 and M3 Thumbscew.
The thumbscrew goes on the front side of the scope, you loosen it whenever you want to adjust the focus.
Lastly attach the Vixen_adapter with 2 M4x12 and TNuts. Make sure its roughly in the middle/in the center of gravity.
Depending on your Vixen clamp, you might need to attach it to the other side.

¶ OpenAstroTracker Mount
TBD